
Having an SSL certificate for your website is very important and, in my opinion, required, if you want your website to gain popularity.
In fact, search engines like Google, Bing, DuckDuckGo and others, crawl sites with HTTPS only.
So, if your website doesn’t have HTTPS, it won’t be featured in any search results and visitors won’t trust it.
That being said, you don’t have to pay for a certificate. Other free alternatives exist, like CloudFlare.
In this step by step tutorial, I will guide you step by step through the process of getting a free SSL certificate for your Website with CloudFlare
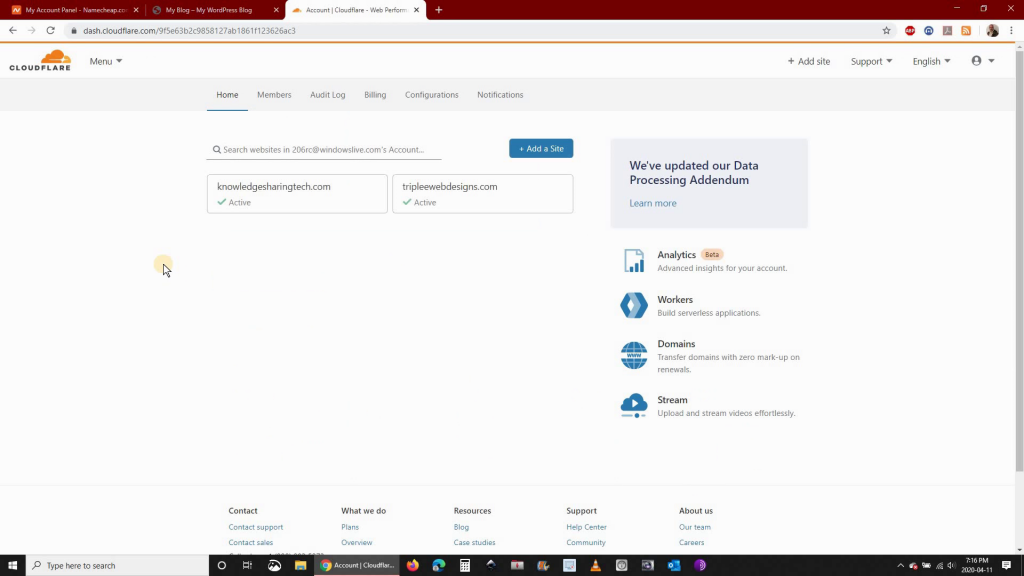
Step 1: Signup to CloudFlare or Sign in if you already have an account on cloudflare.com and then click +Add a Site
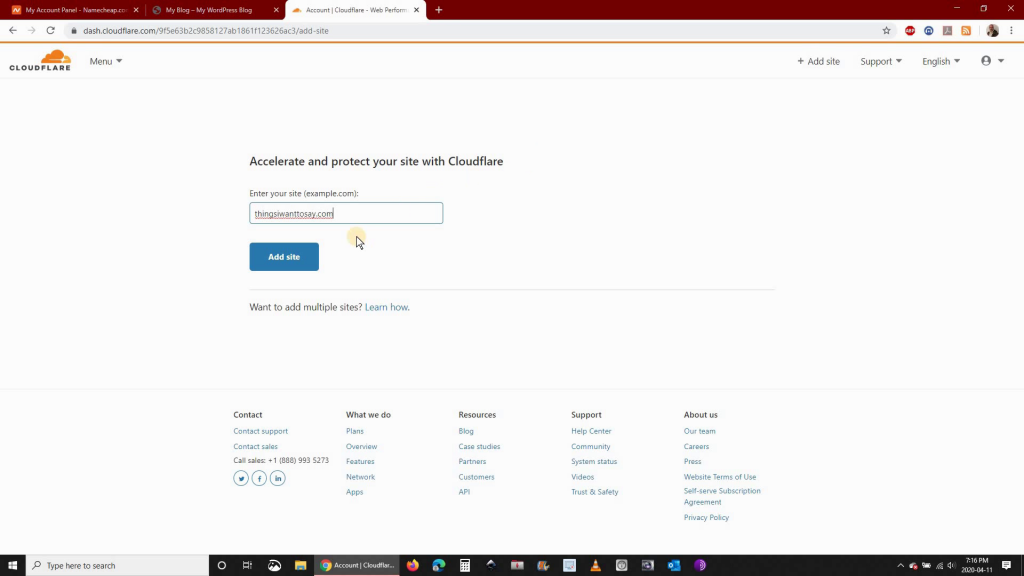
Step 2: Key in your site name and click Add site
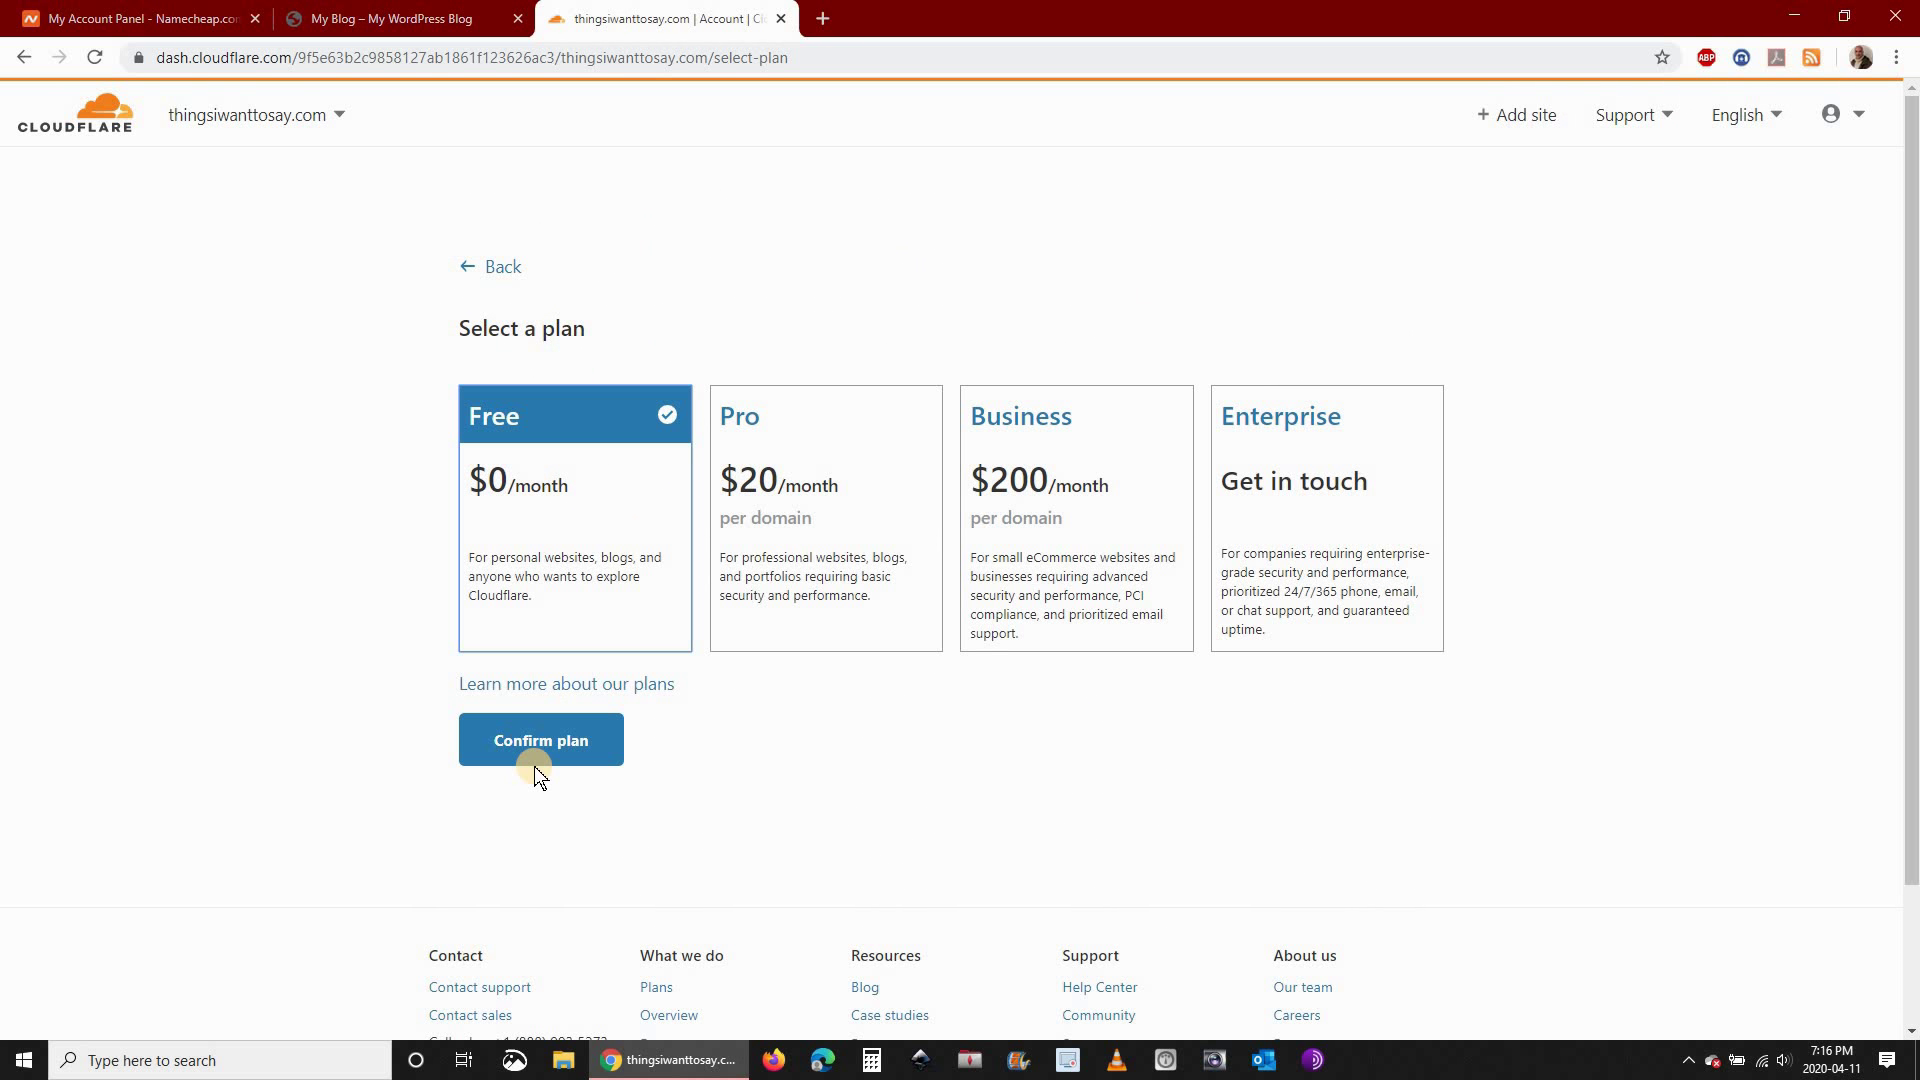
Step 3: Choose Free Plan and click Confirm plan
Step 4: Click Continue

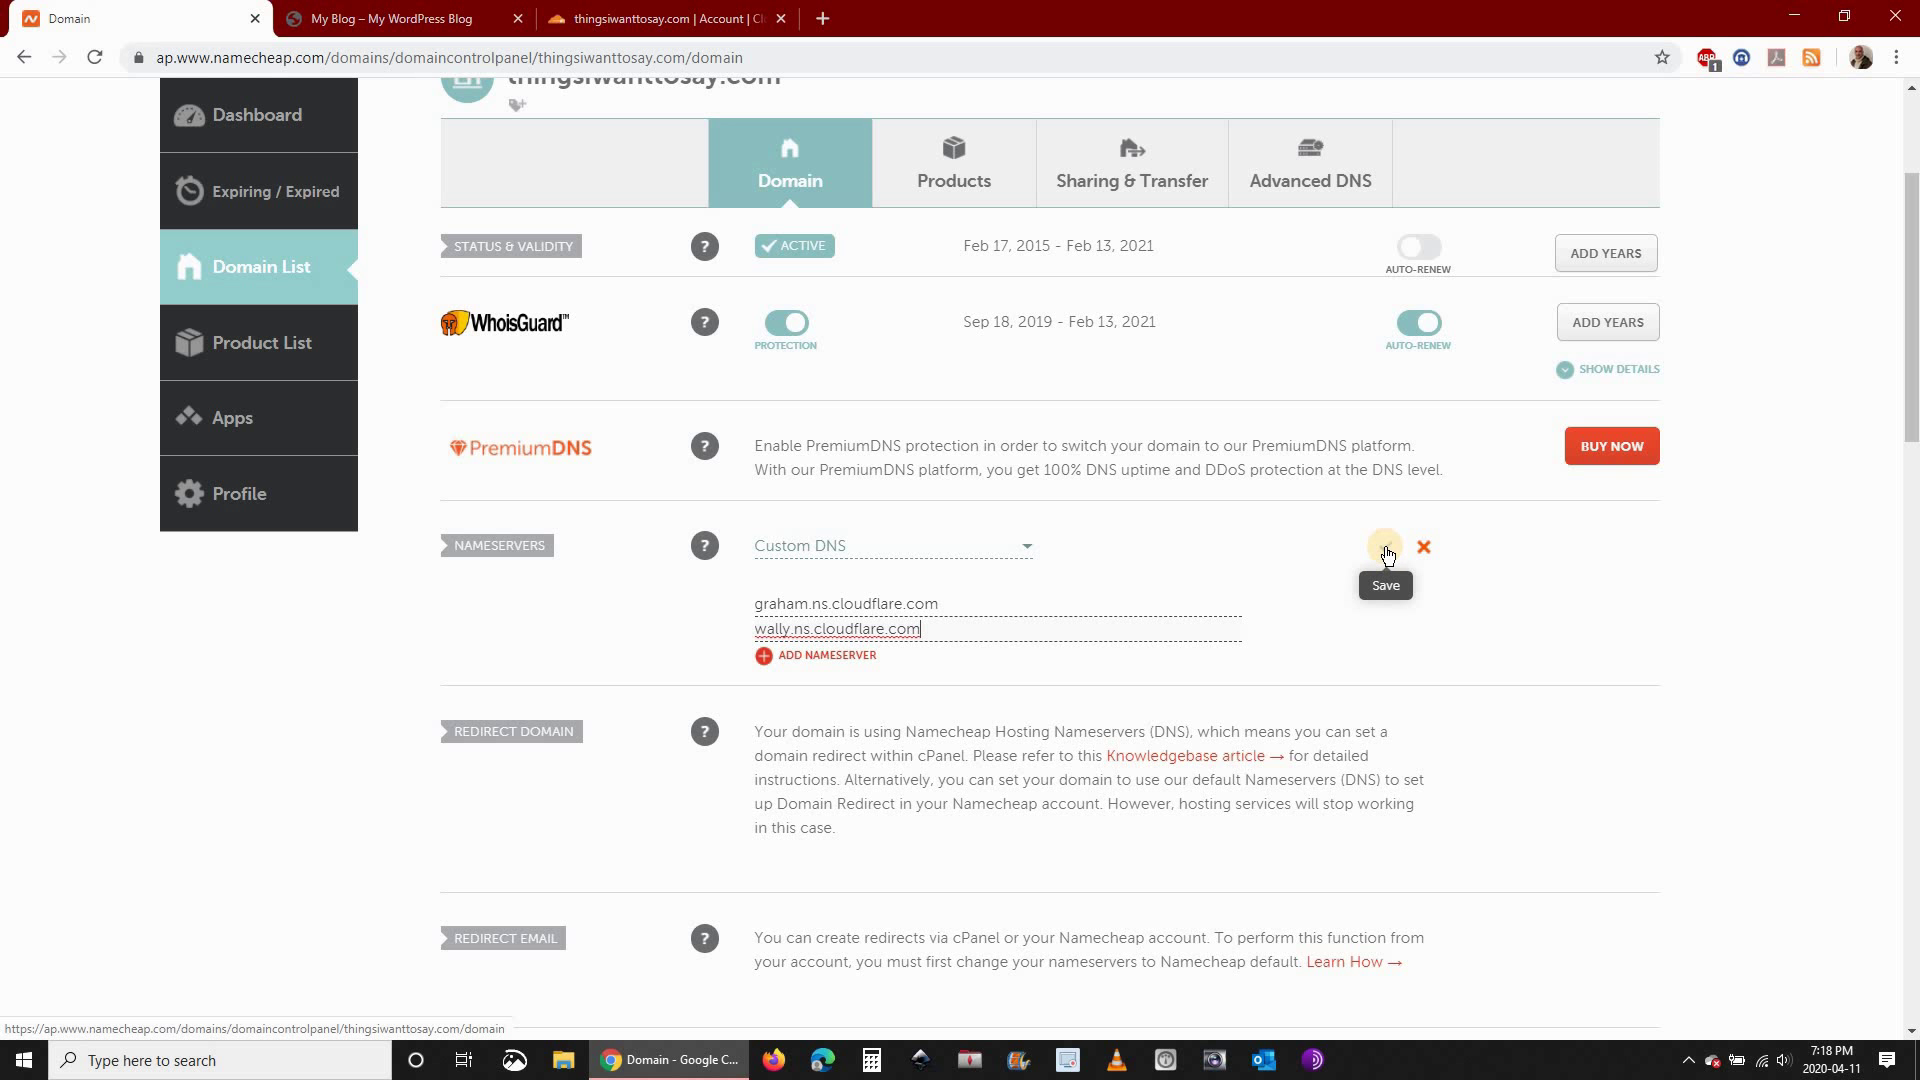
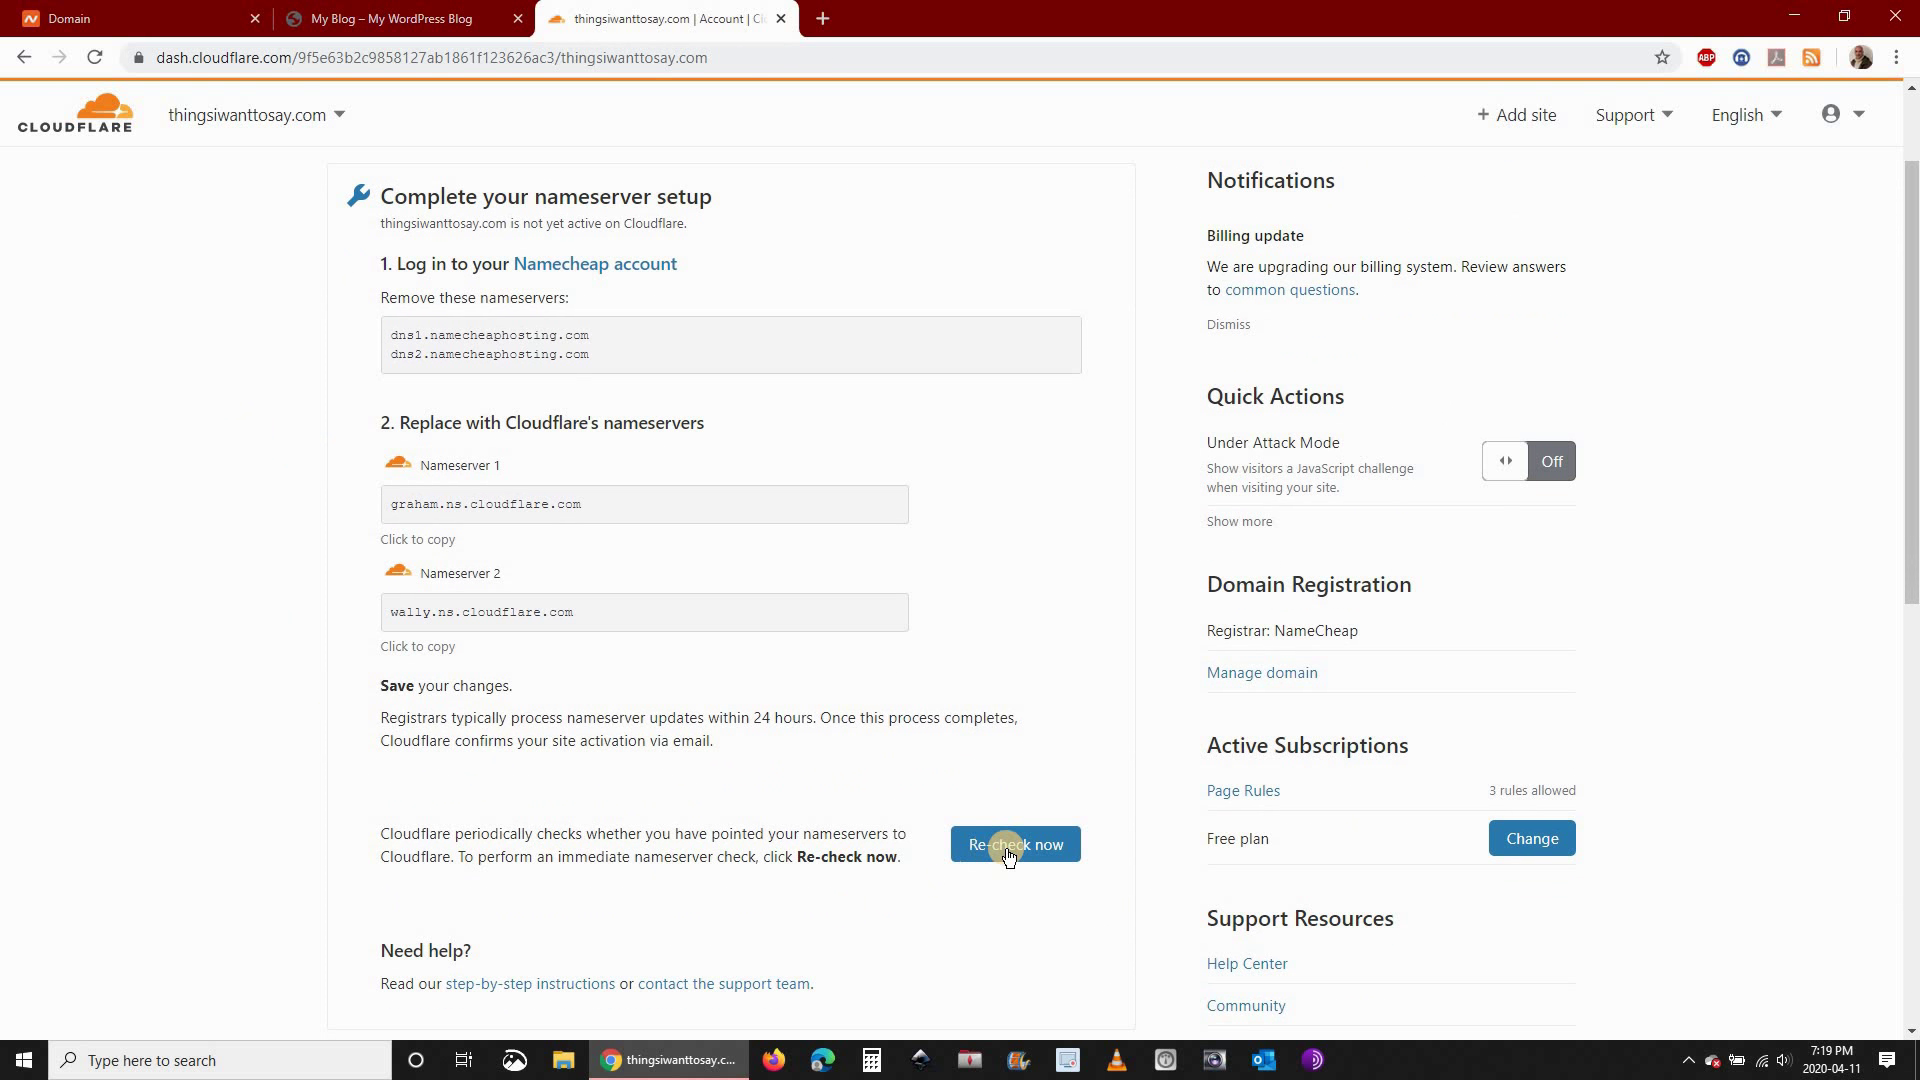
Step 5: Copy CloudFlare’s name servers and put them in your domain’s DNS as primary and secondary Name Servers under Custom DNS and save the changes
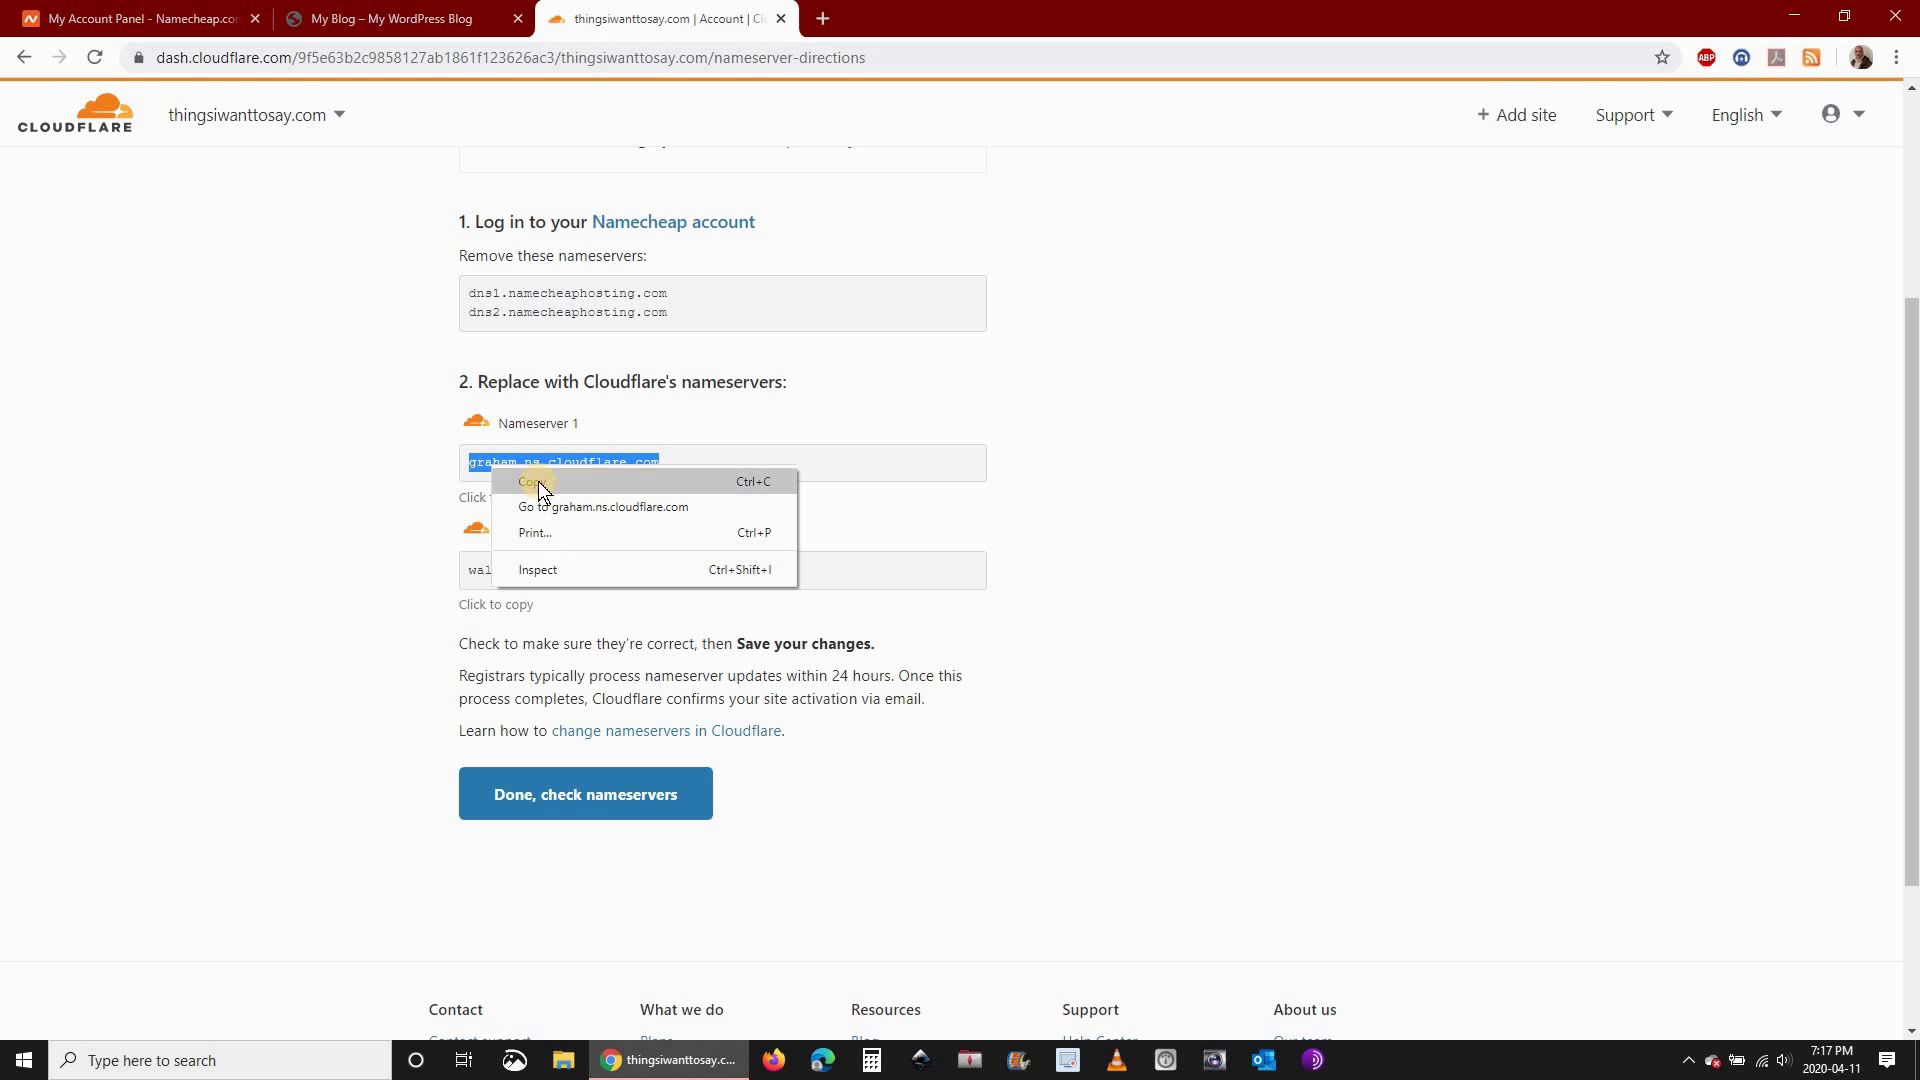
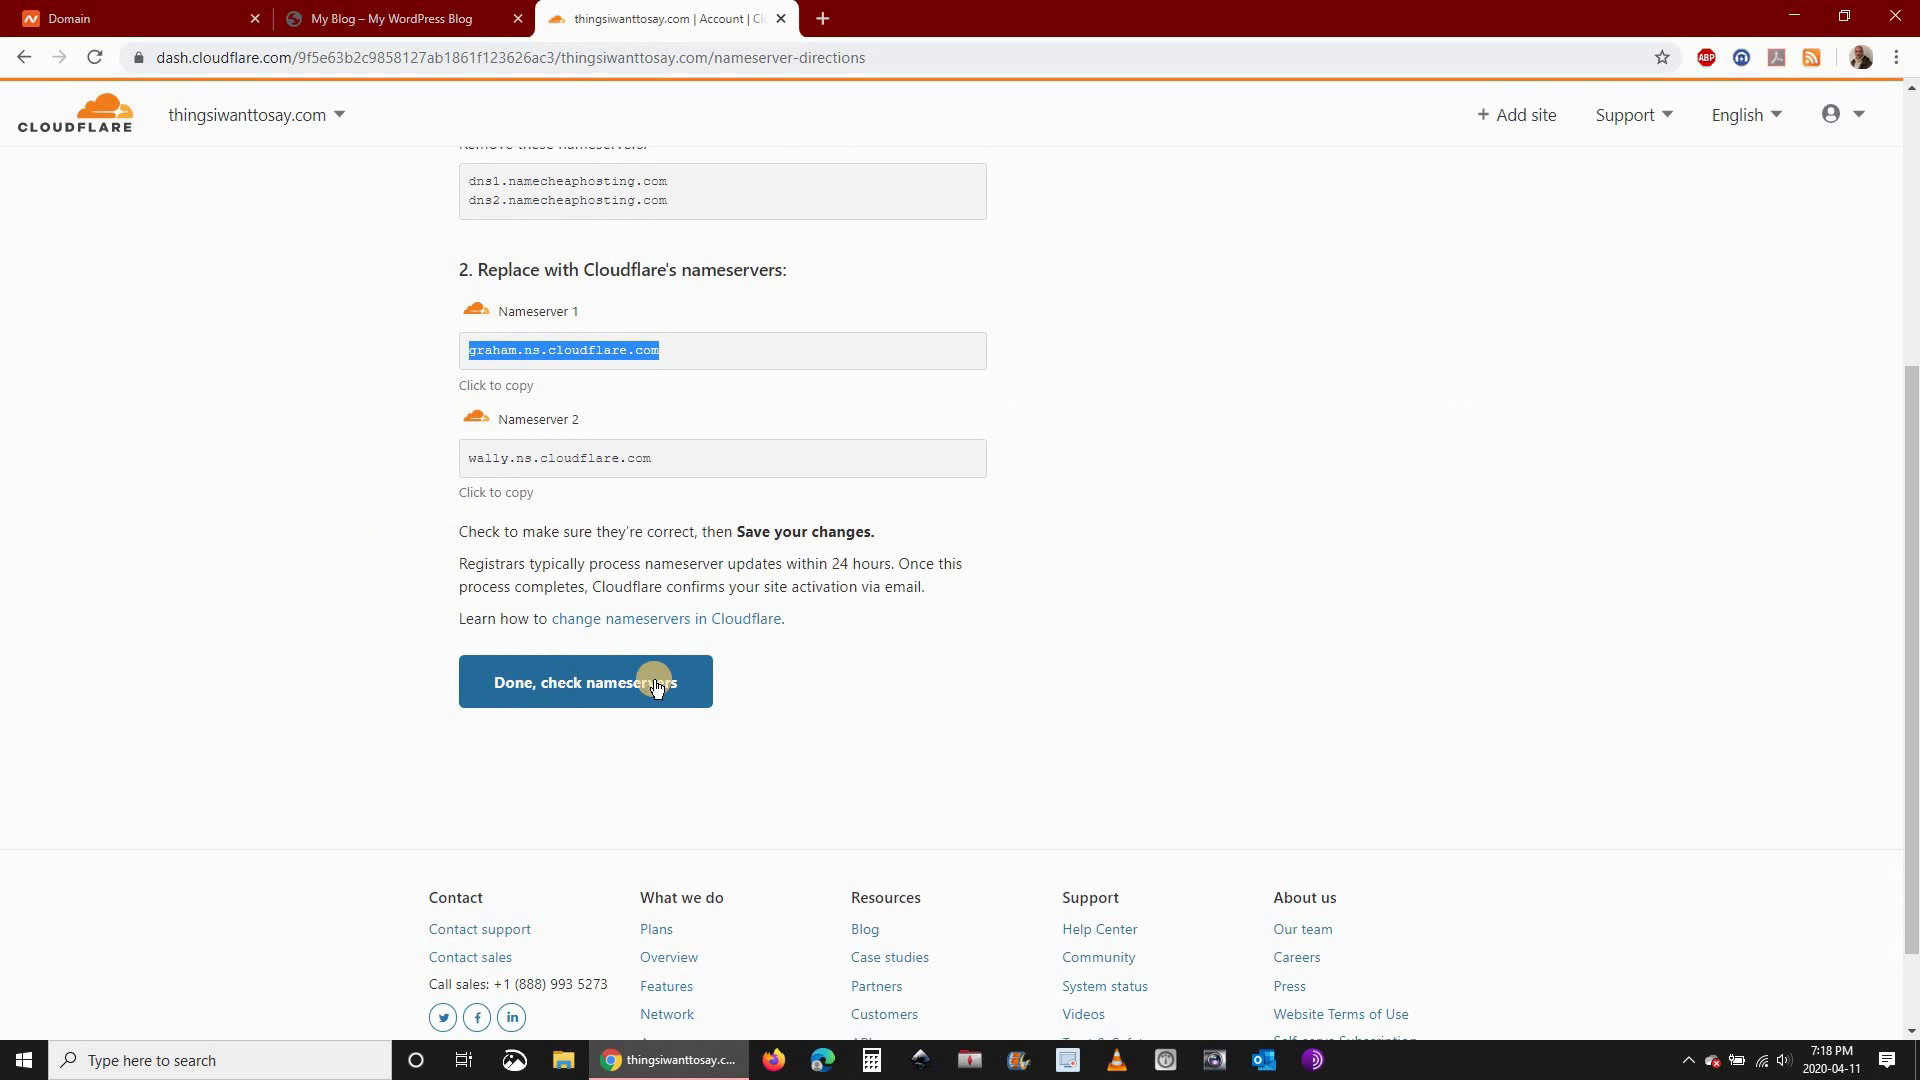
Step 6: Return to CloudFlare and click Done, check nameservers
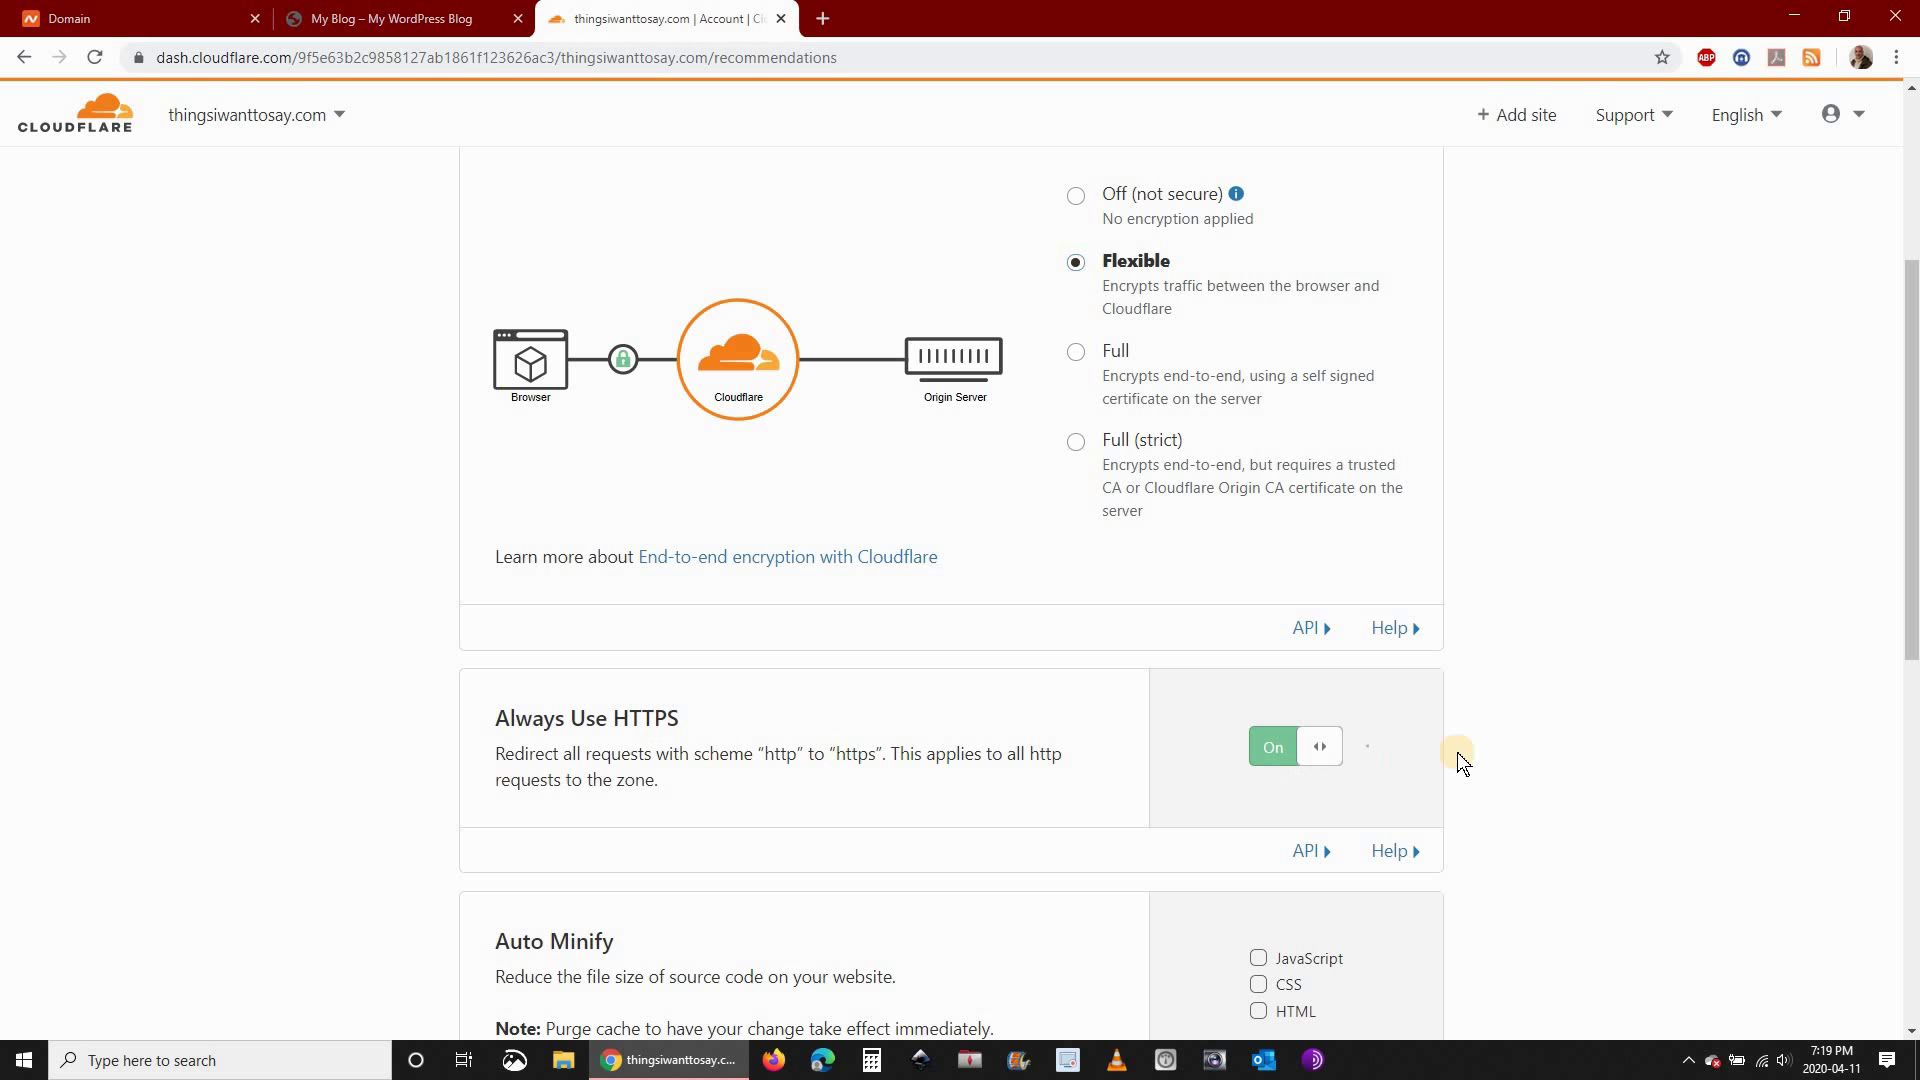
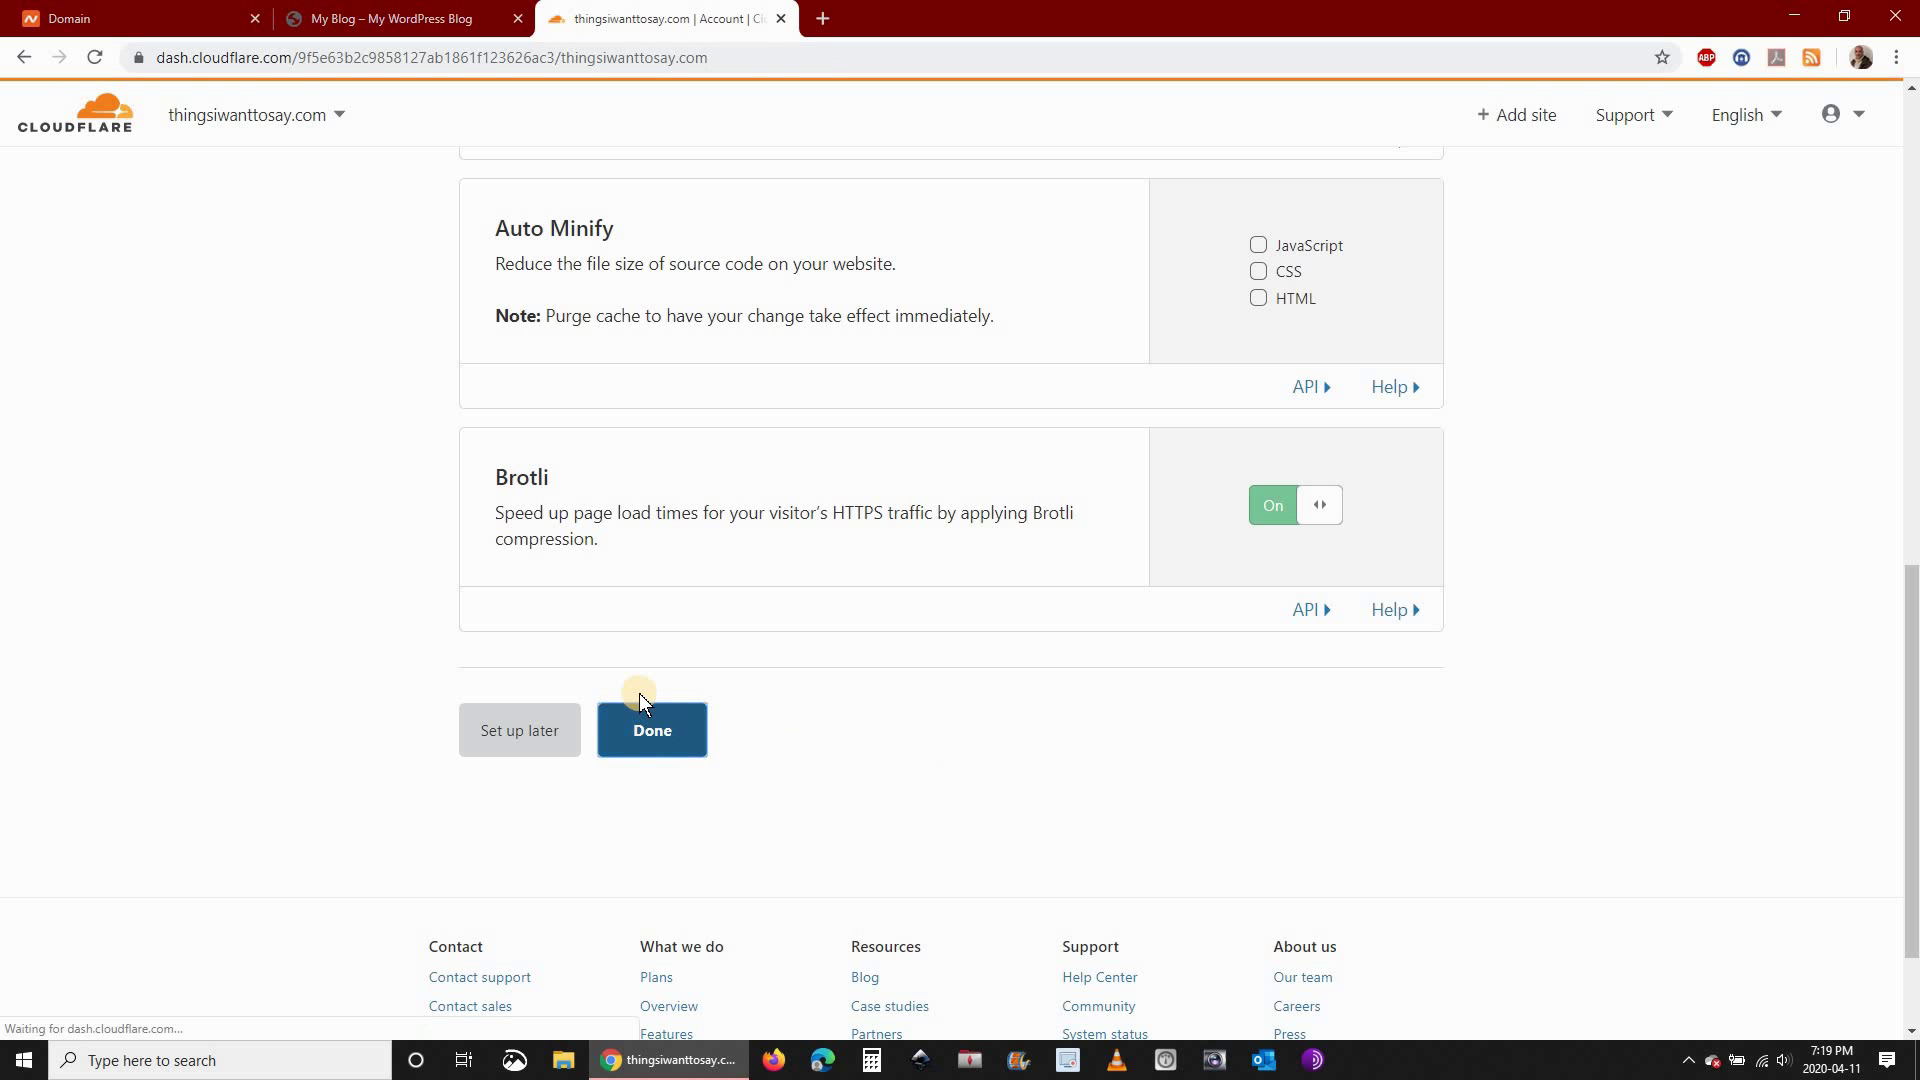
Step 7: Click to enable Always Use HTTPS and then click Done
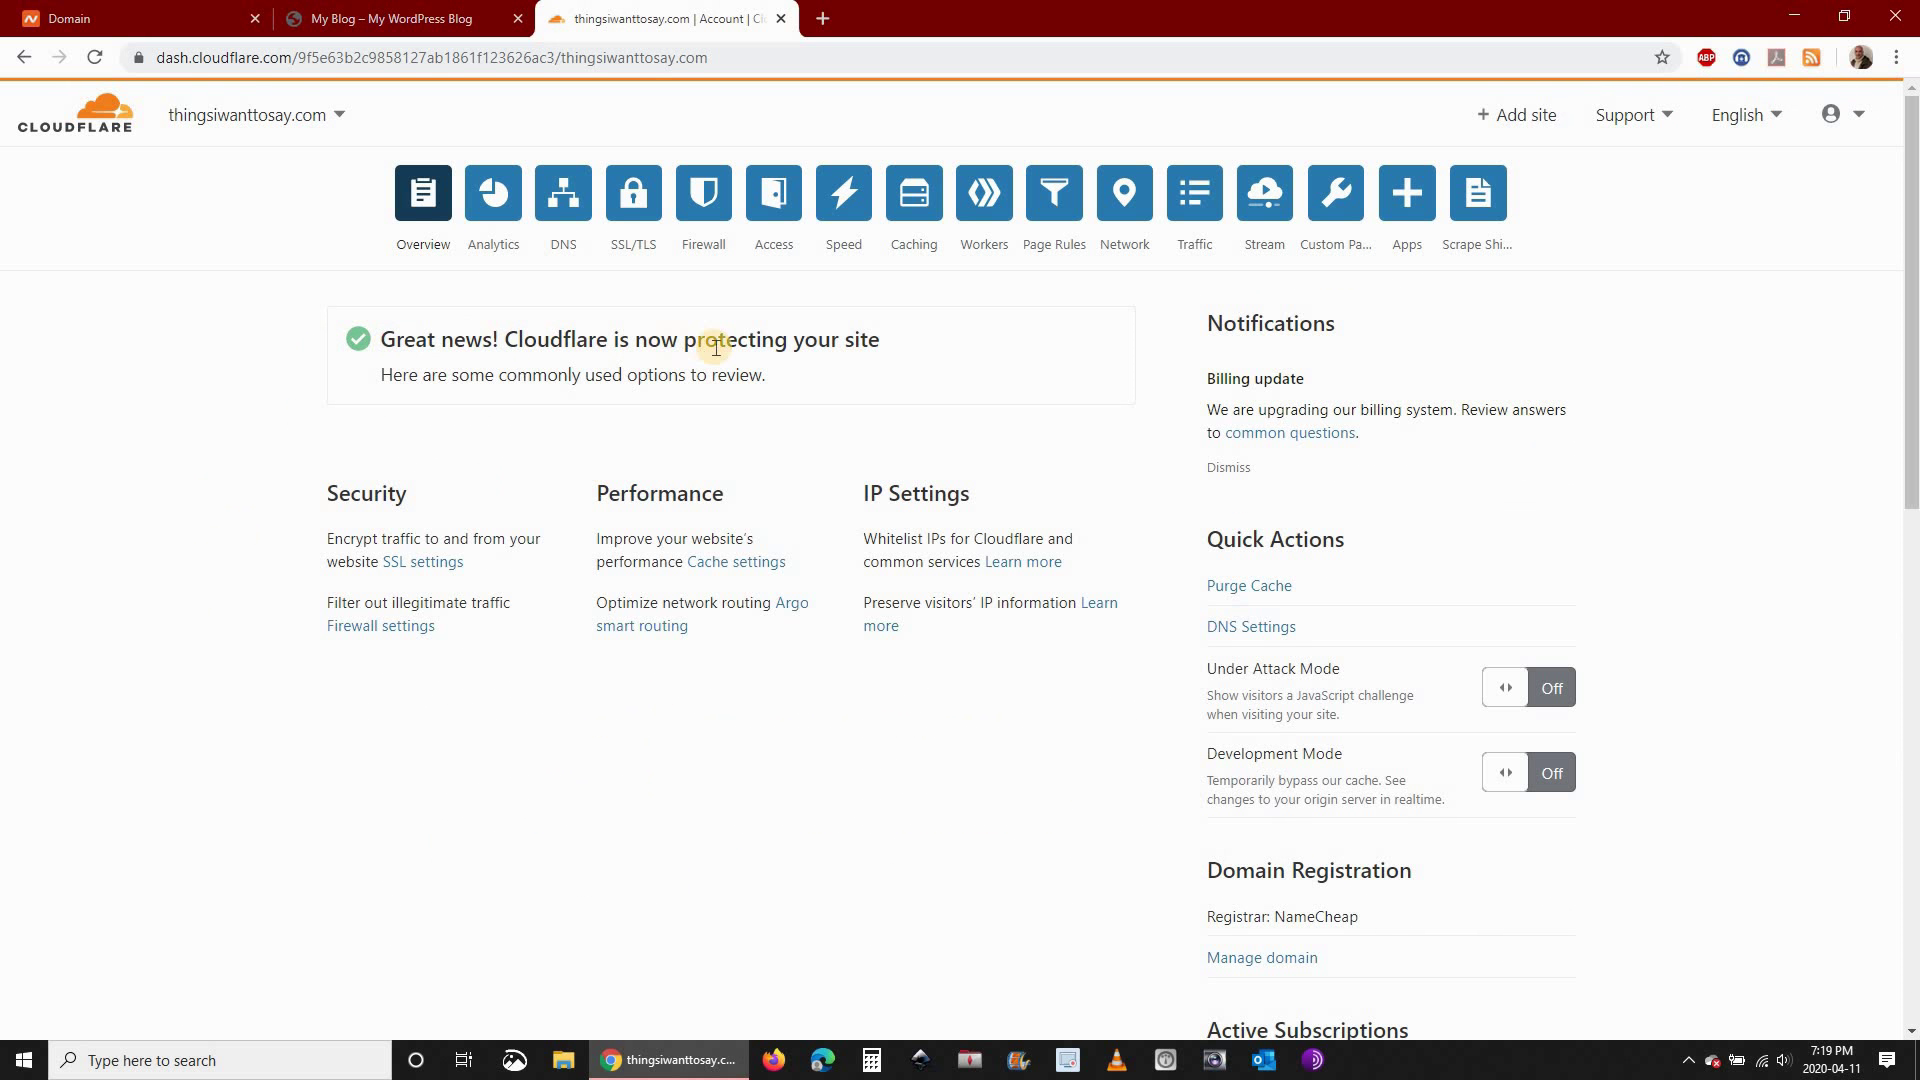
Step 8: Click Recheck now. Youi should get a message saying that your site is now protected by CloudFlare
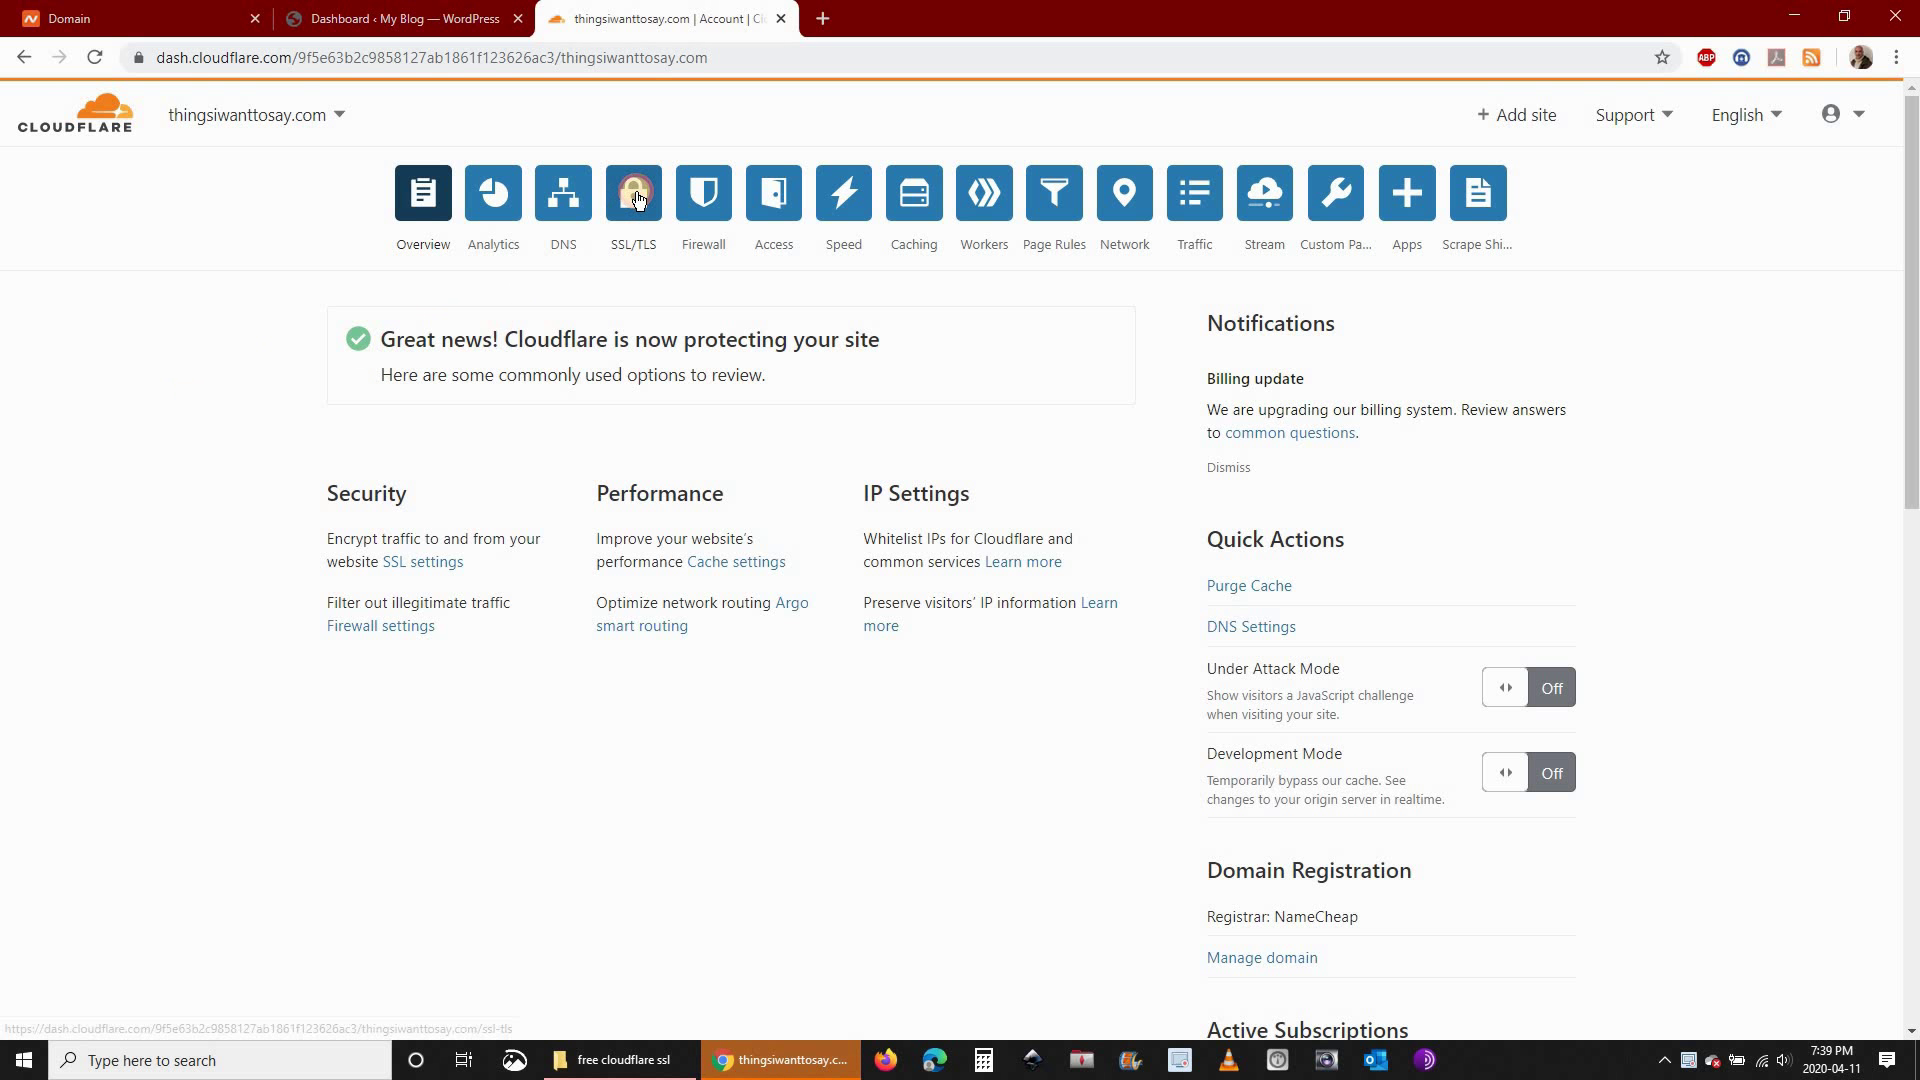
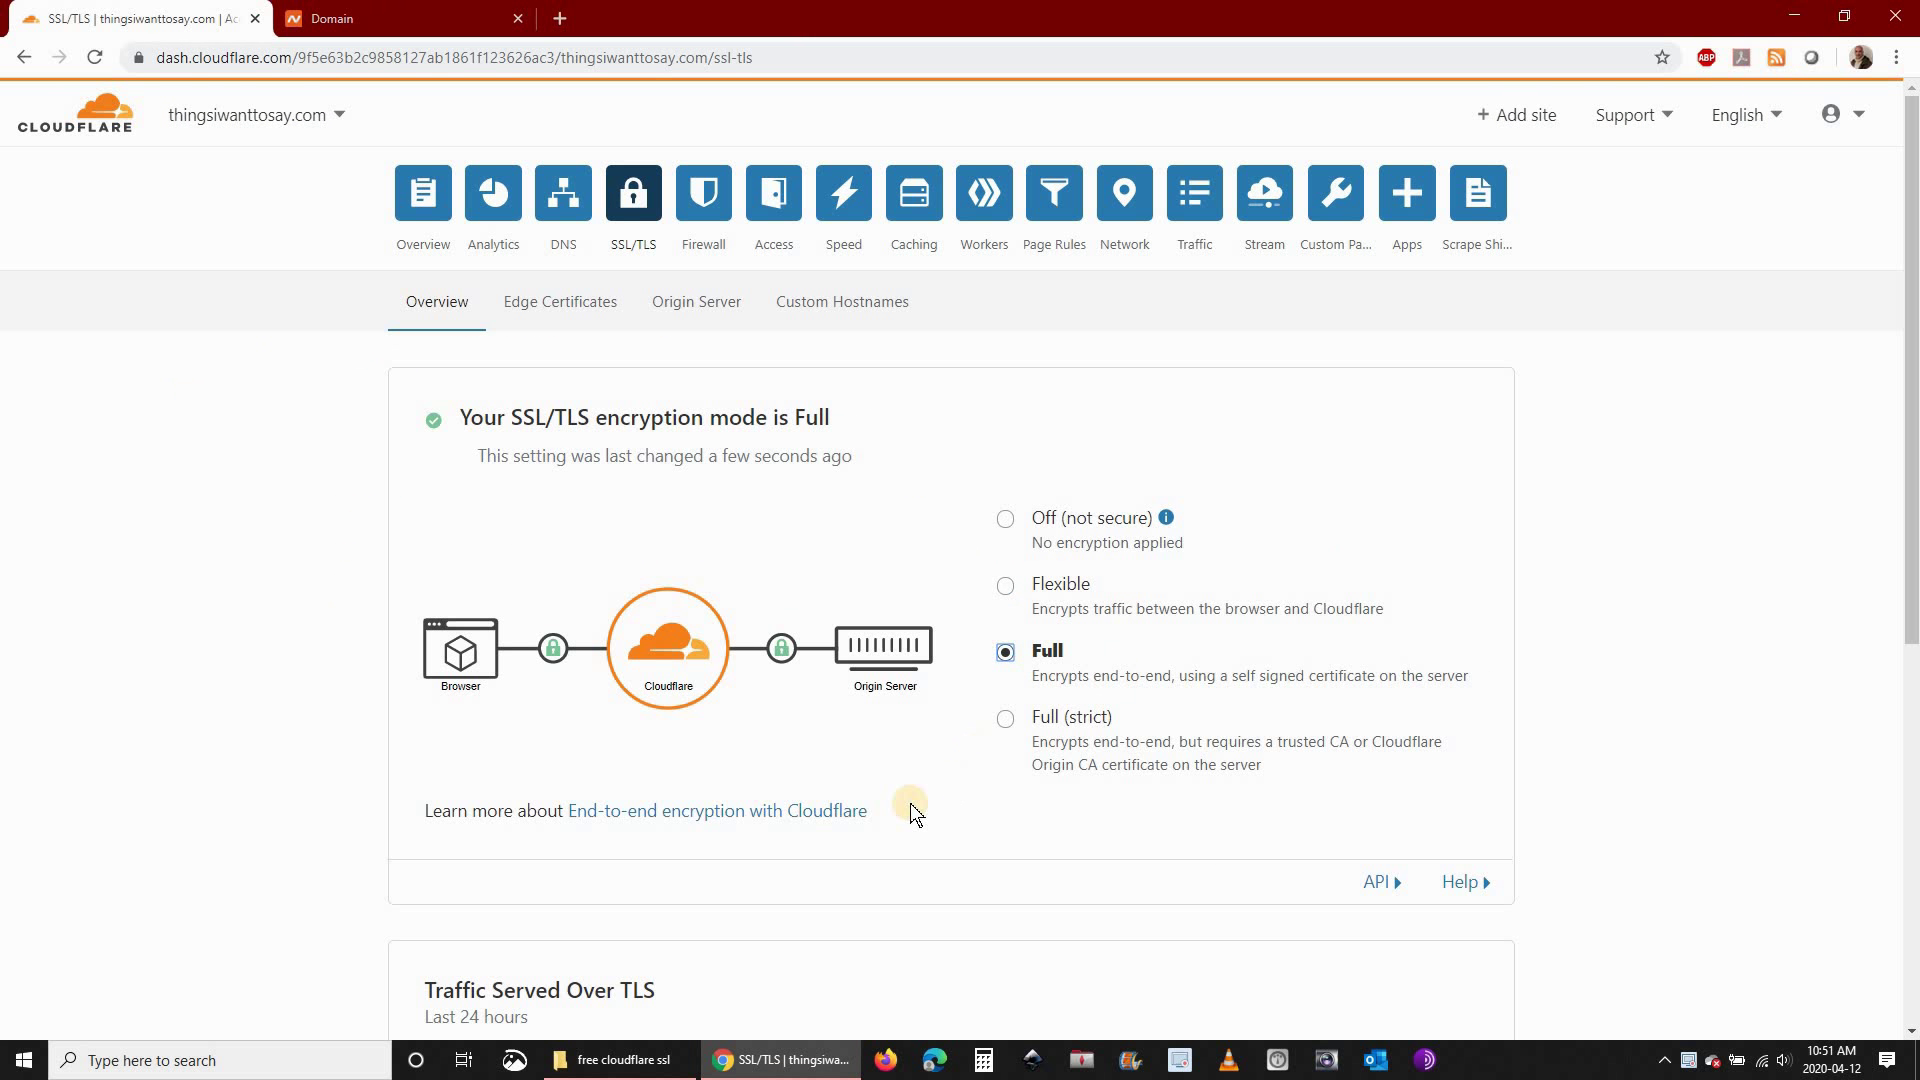
Step 9: Click SSL/TLS and then choose Full
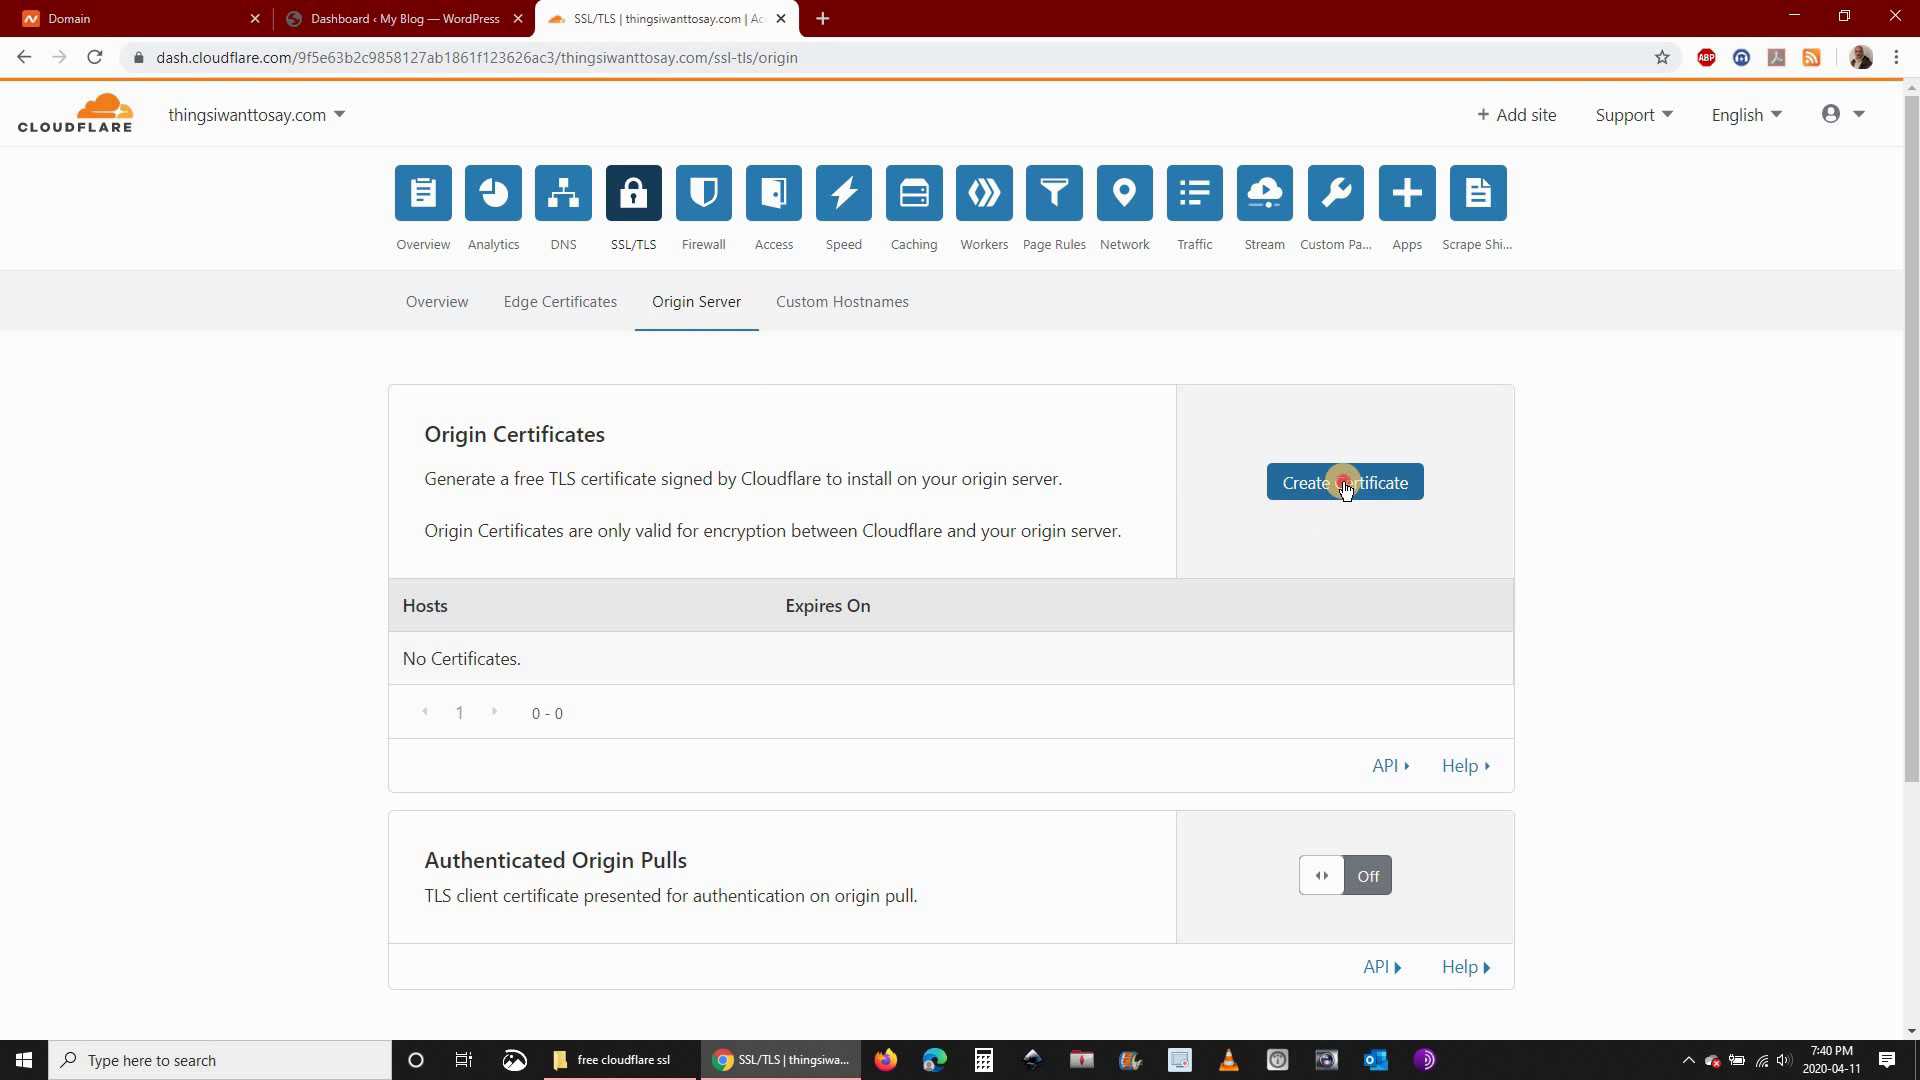
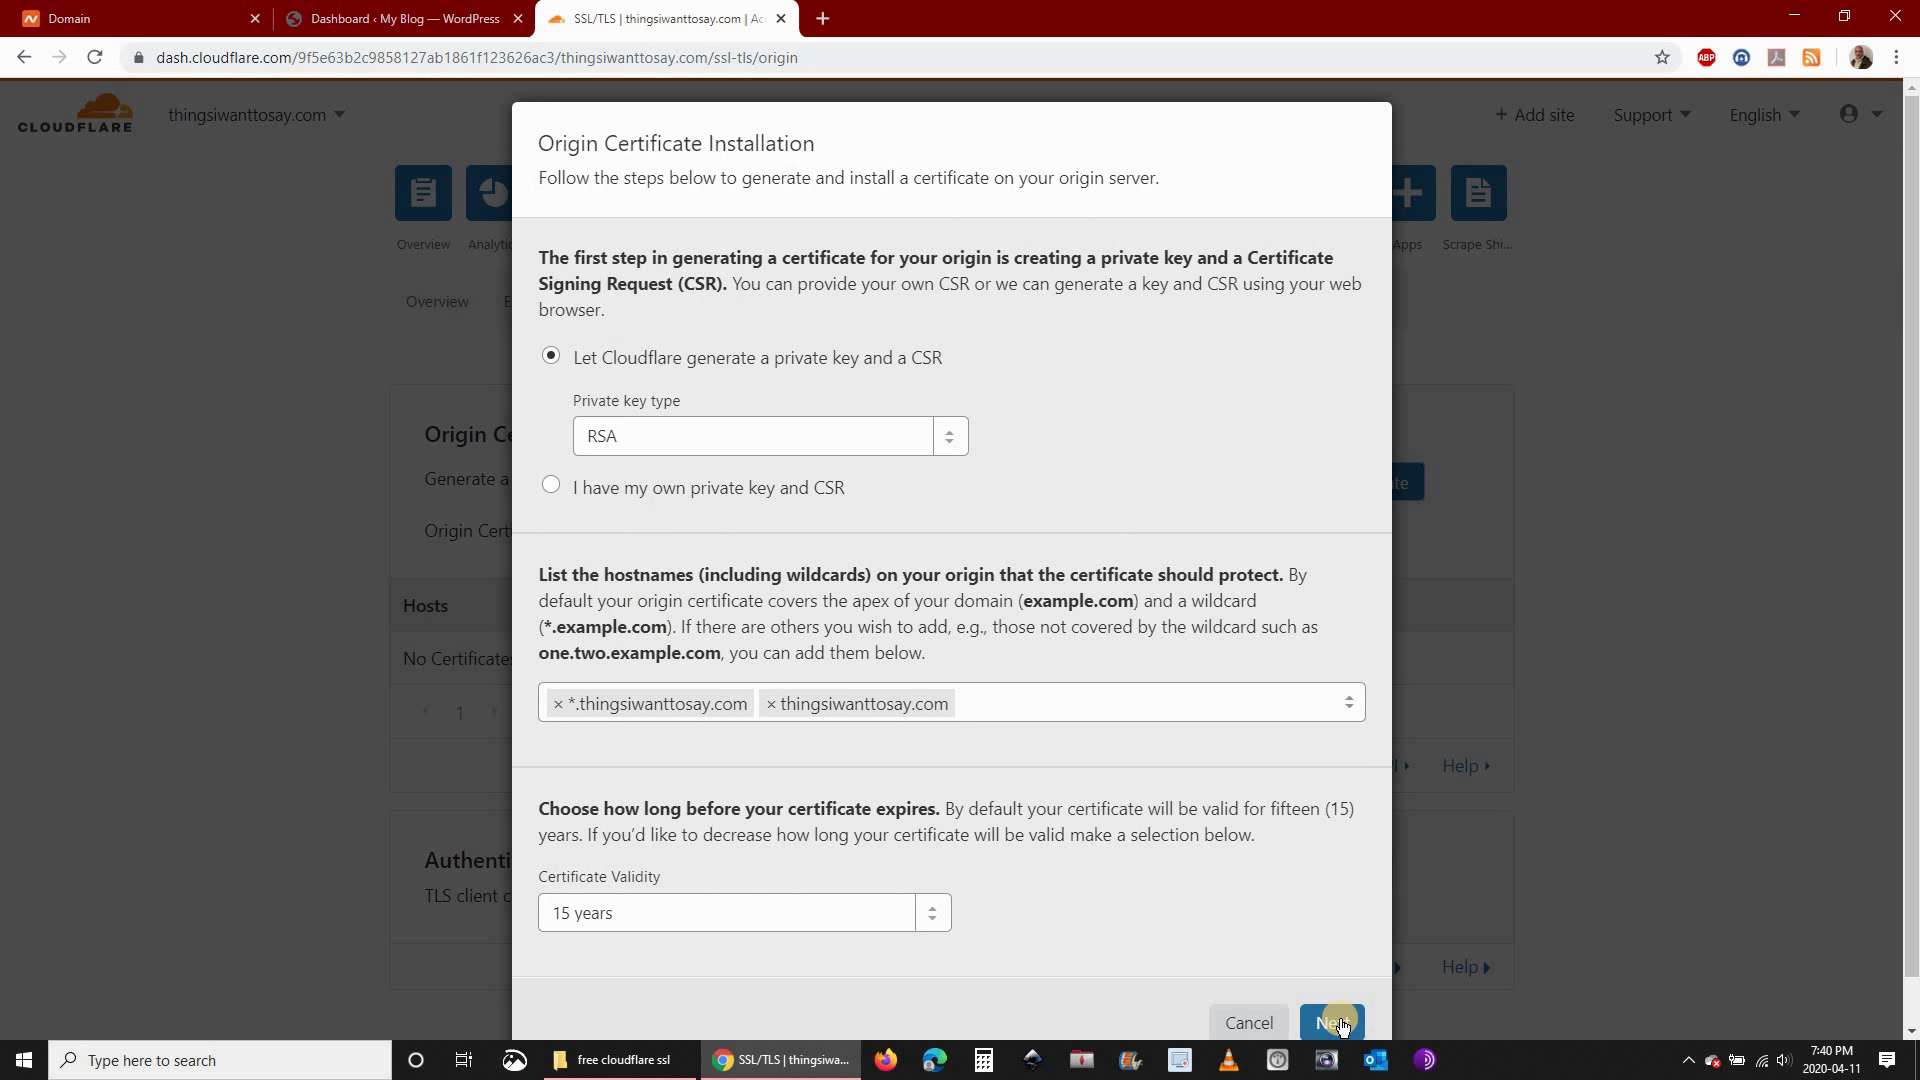
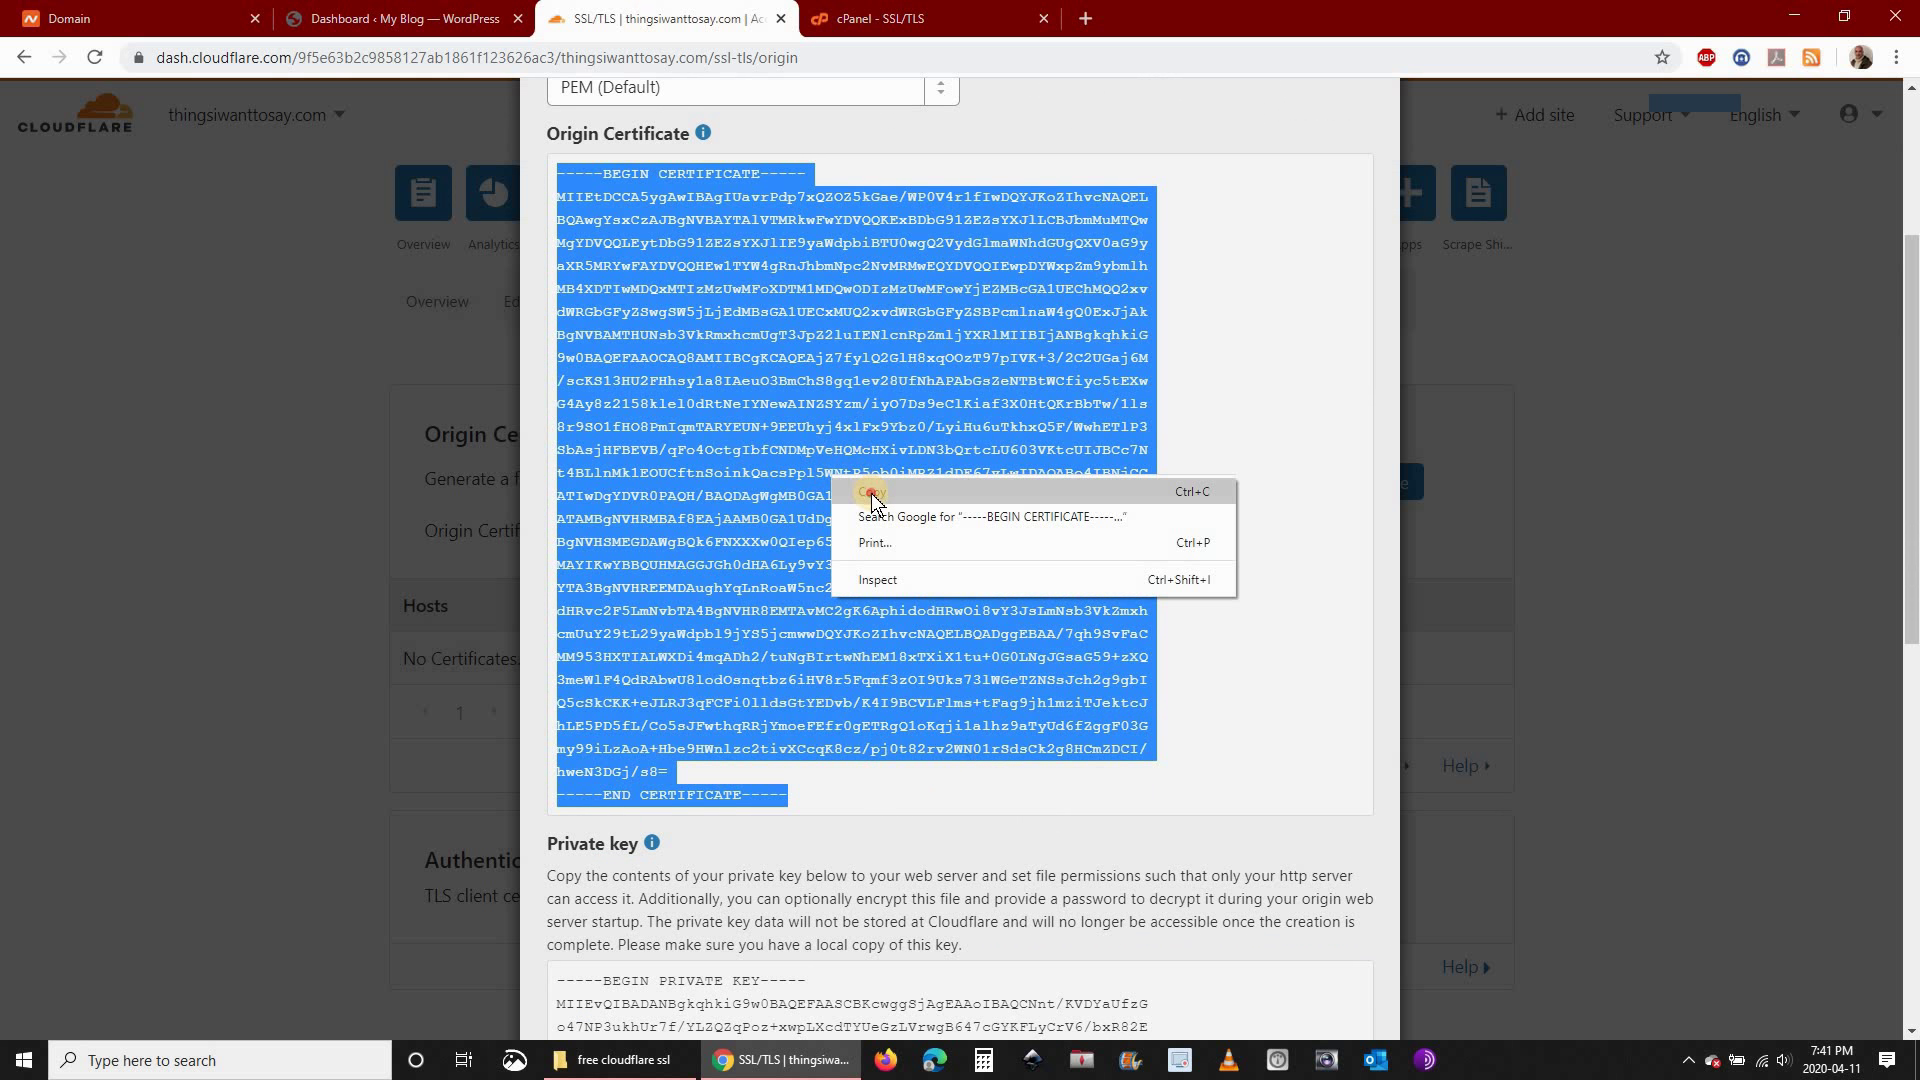
Step 10: Click Origin Server and then click Create certificate and then click Next

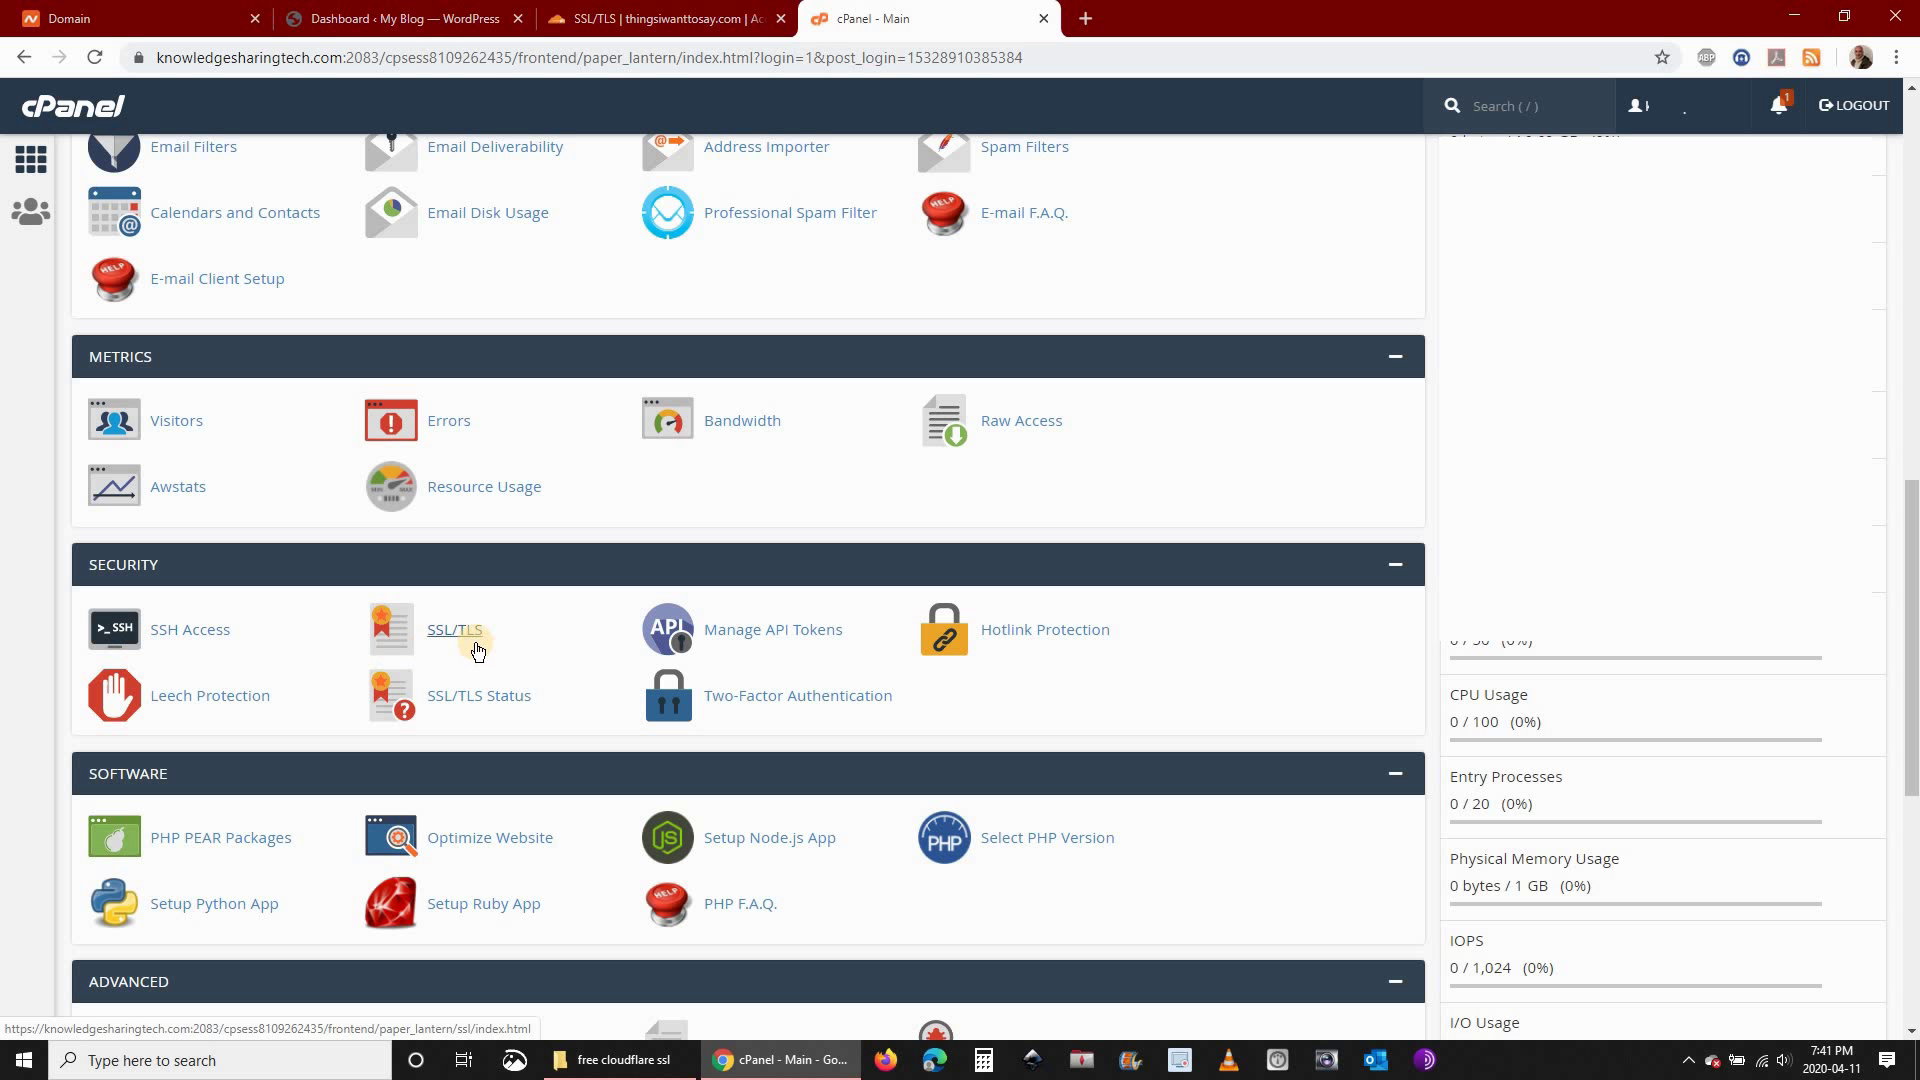
Step 11: Go to the cPanel of your site and under Security click SSL/TLS
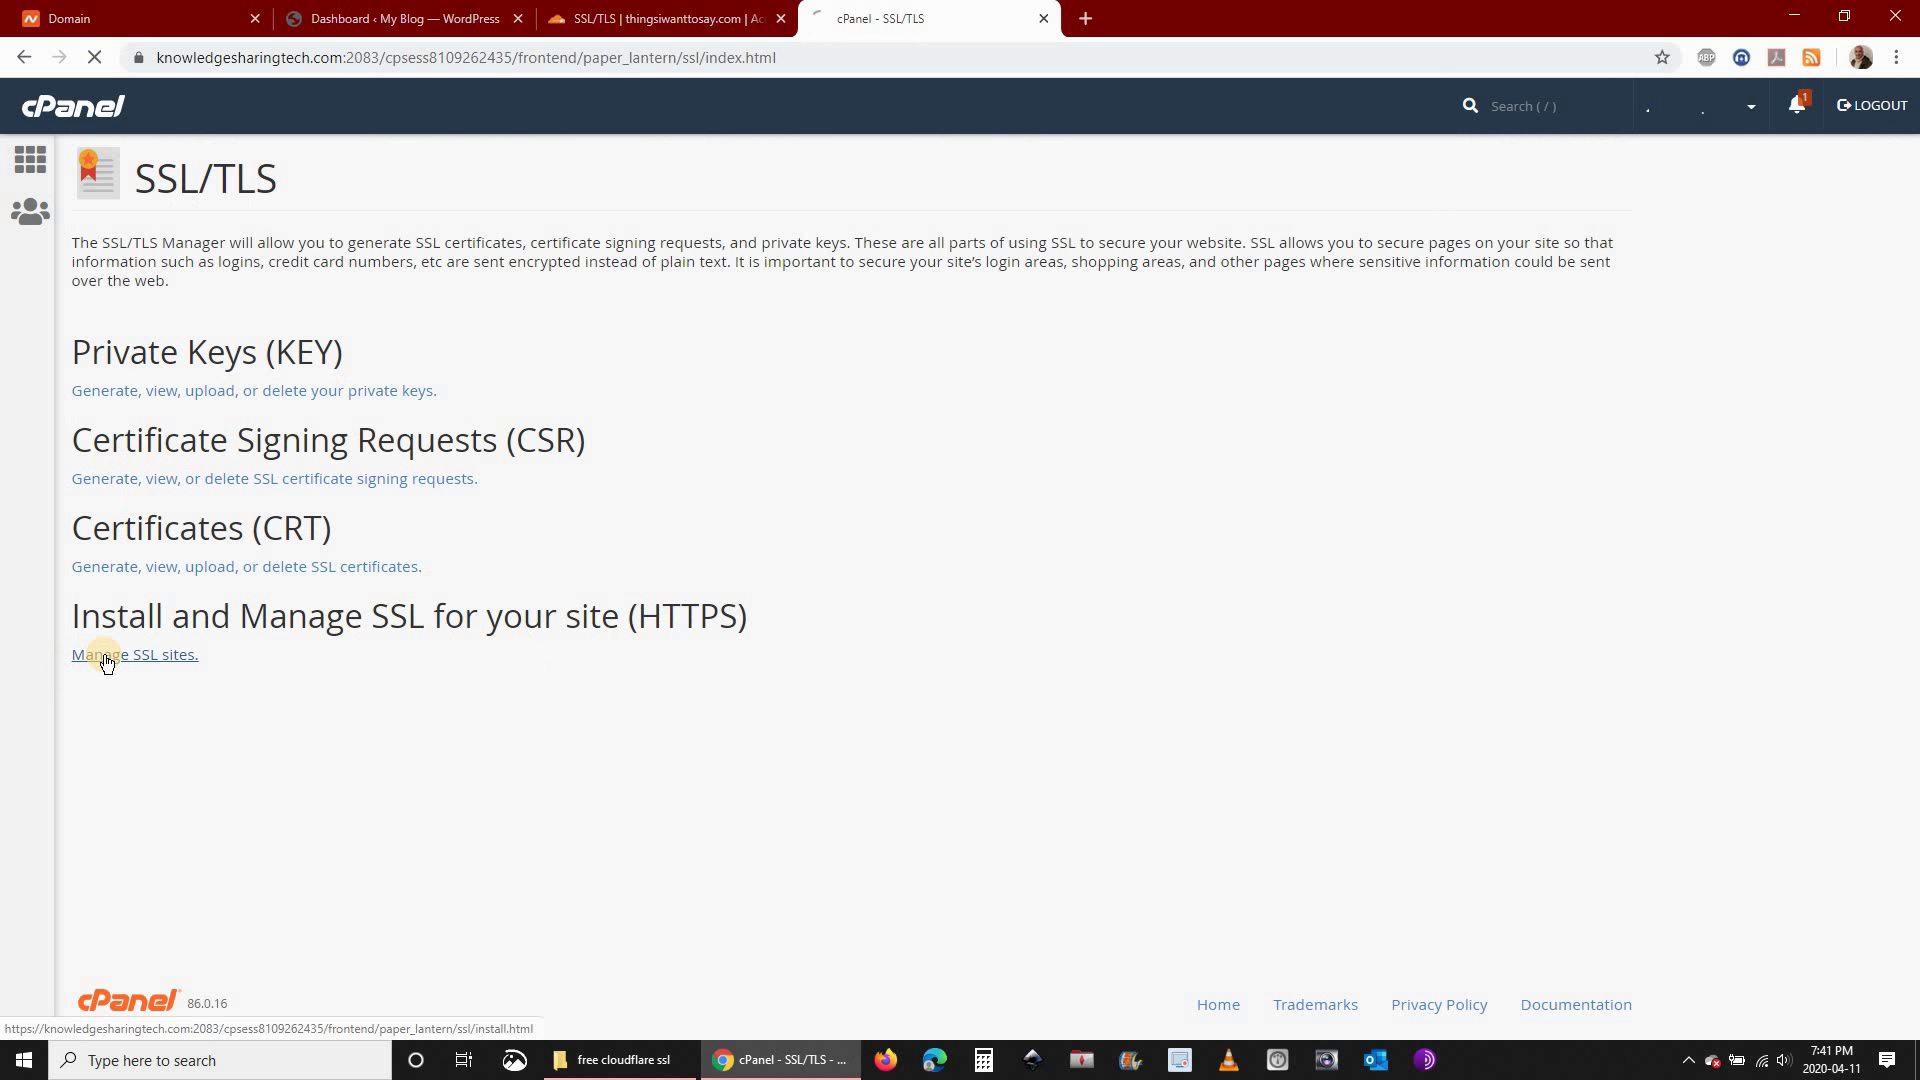
Step 12: Under Install and Manage SSL for your site (HTTPS), click Manage SSL sites
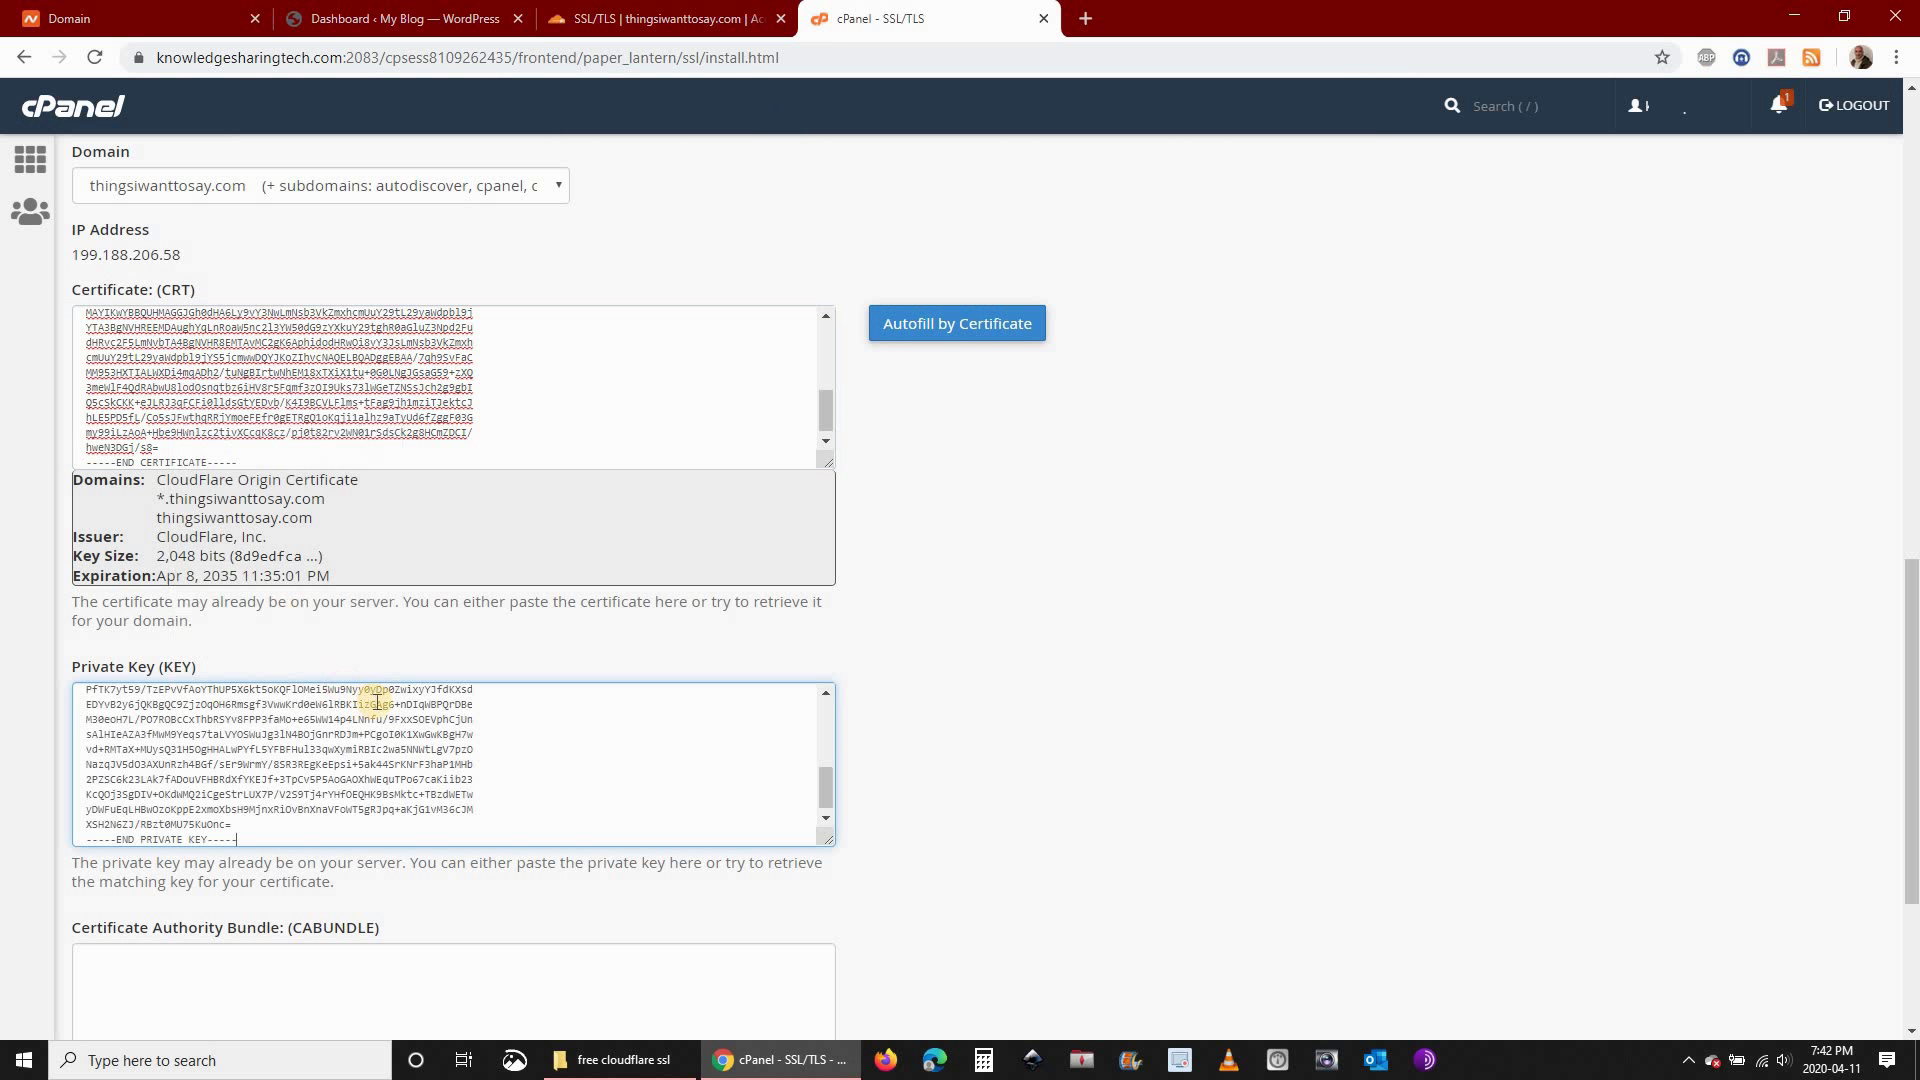
Step 13: Under Domain, choose the site that you added to CloudFlare

Step 14: Go back to CloudFlare and copy the Origin Certificate then paste it in cPanel under Certificate (CRT)

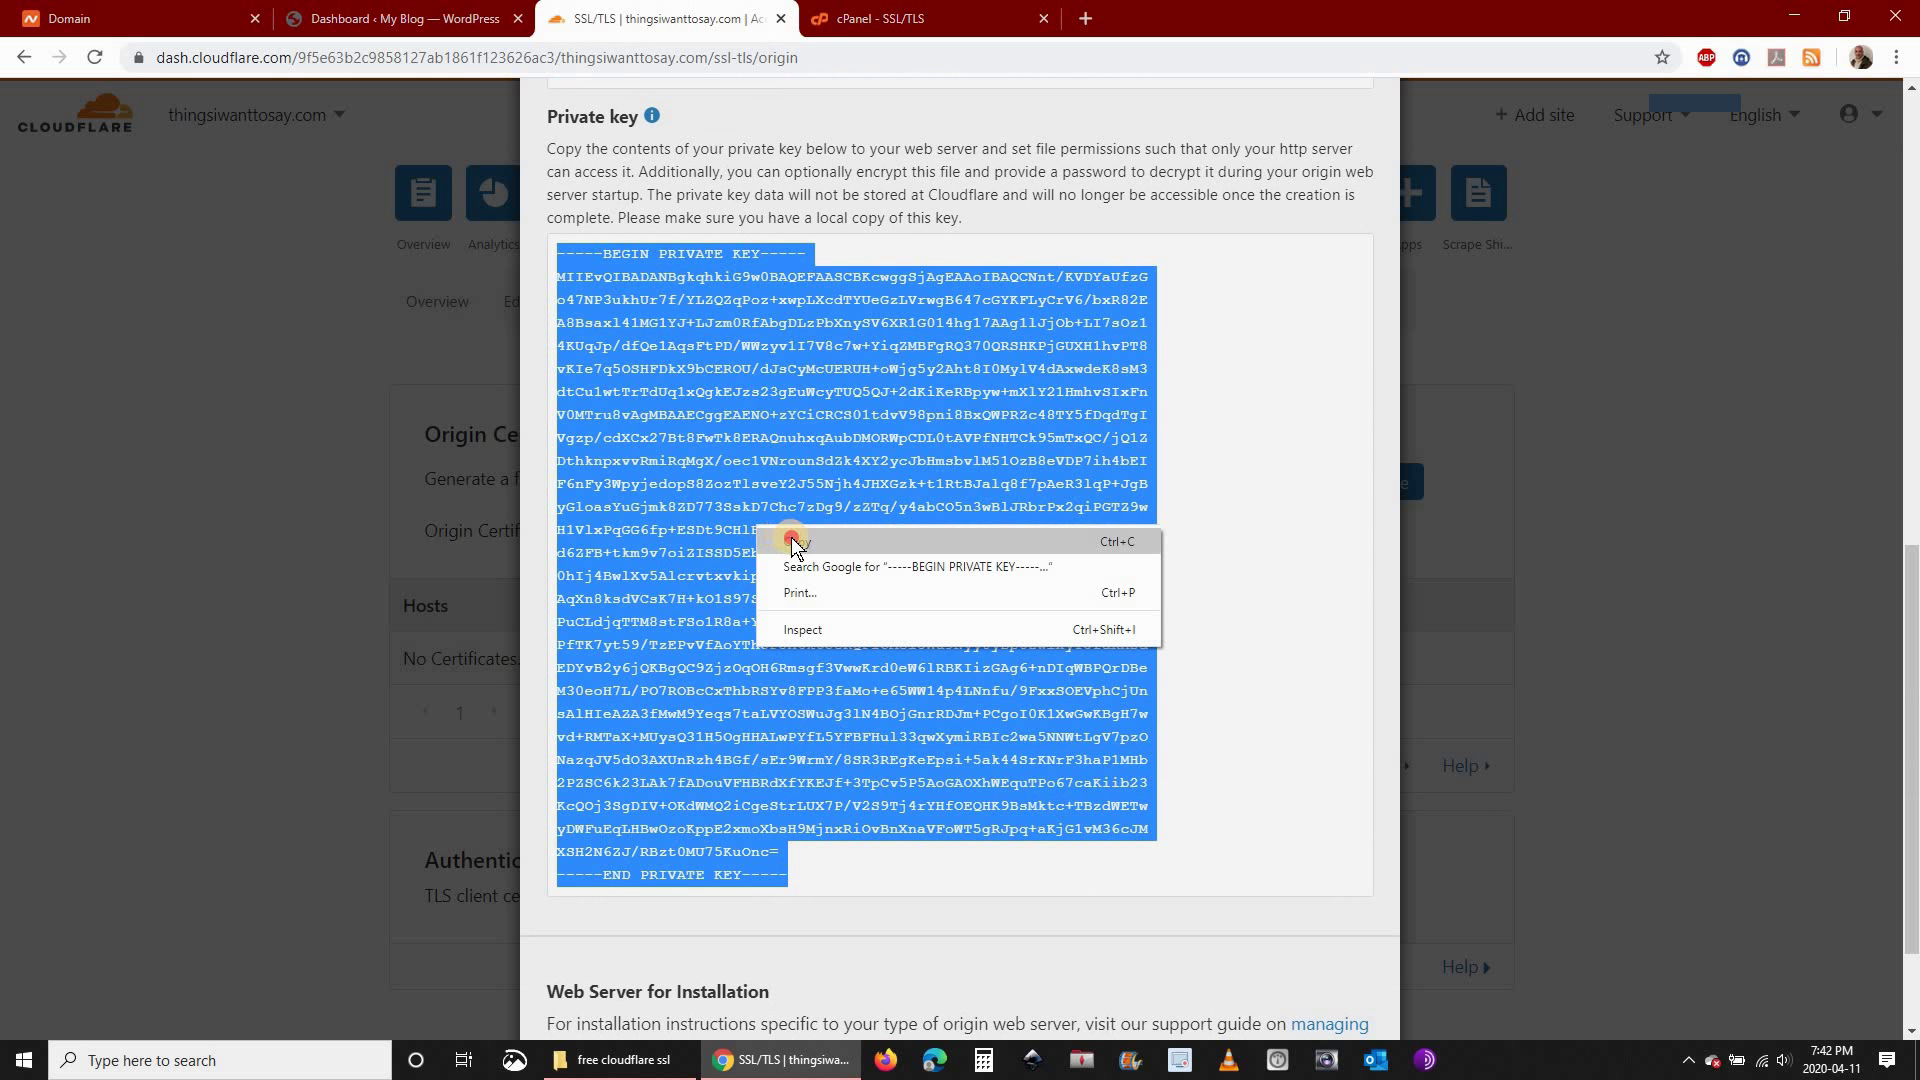
Step 15: Go back to CloudFlare and copy the Private Key then paste it in cPanel under Private Key (KEY)
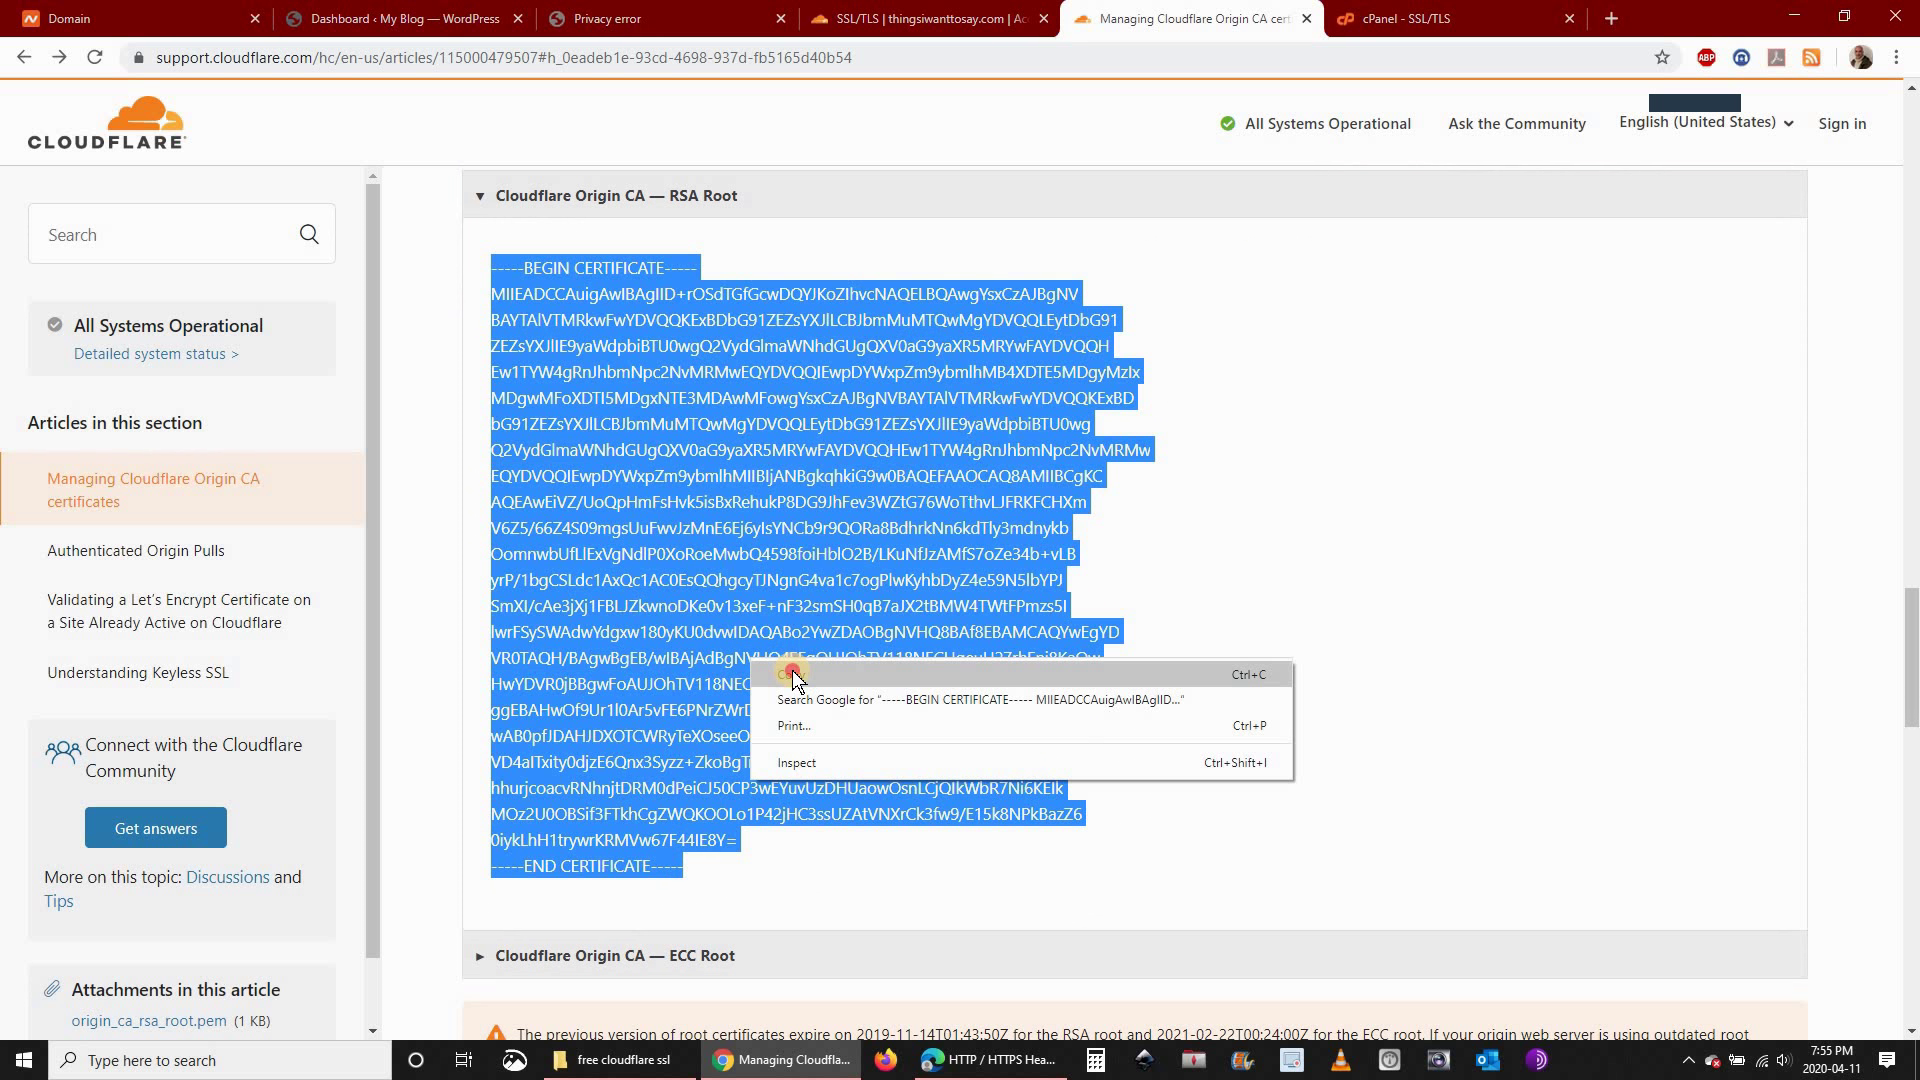
Step 16: Go to https://support.cloudflare.com/hc/en-us/articles/115000479507-Managing-Cloudflare-Origin-CA-certificates, click Step 4 in the support article and then click CloudFlare Origin CA – RSA Root

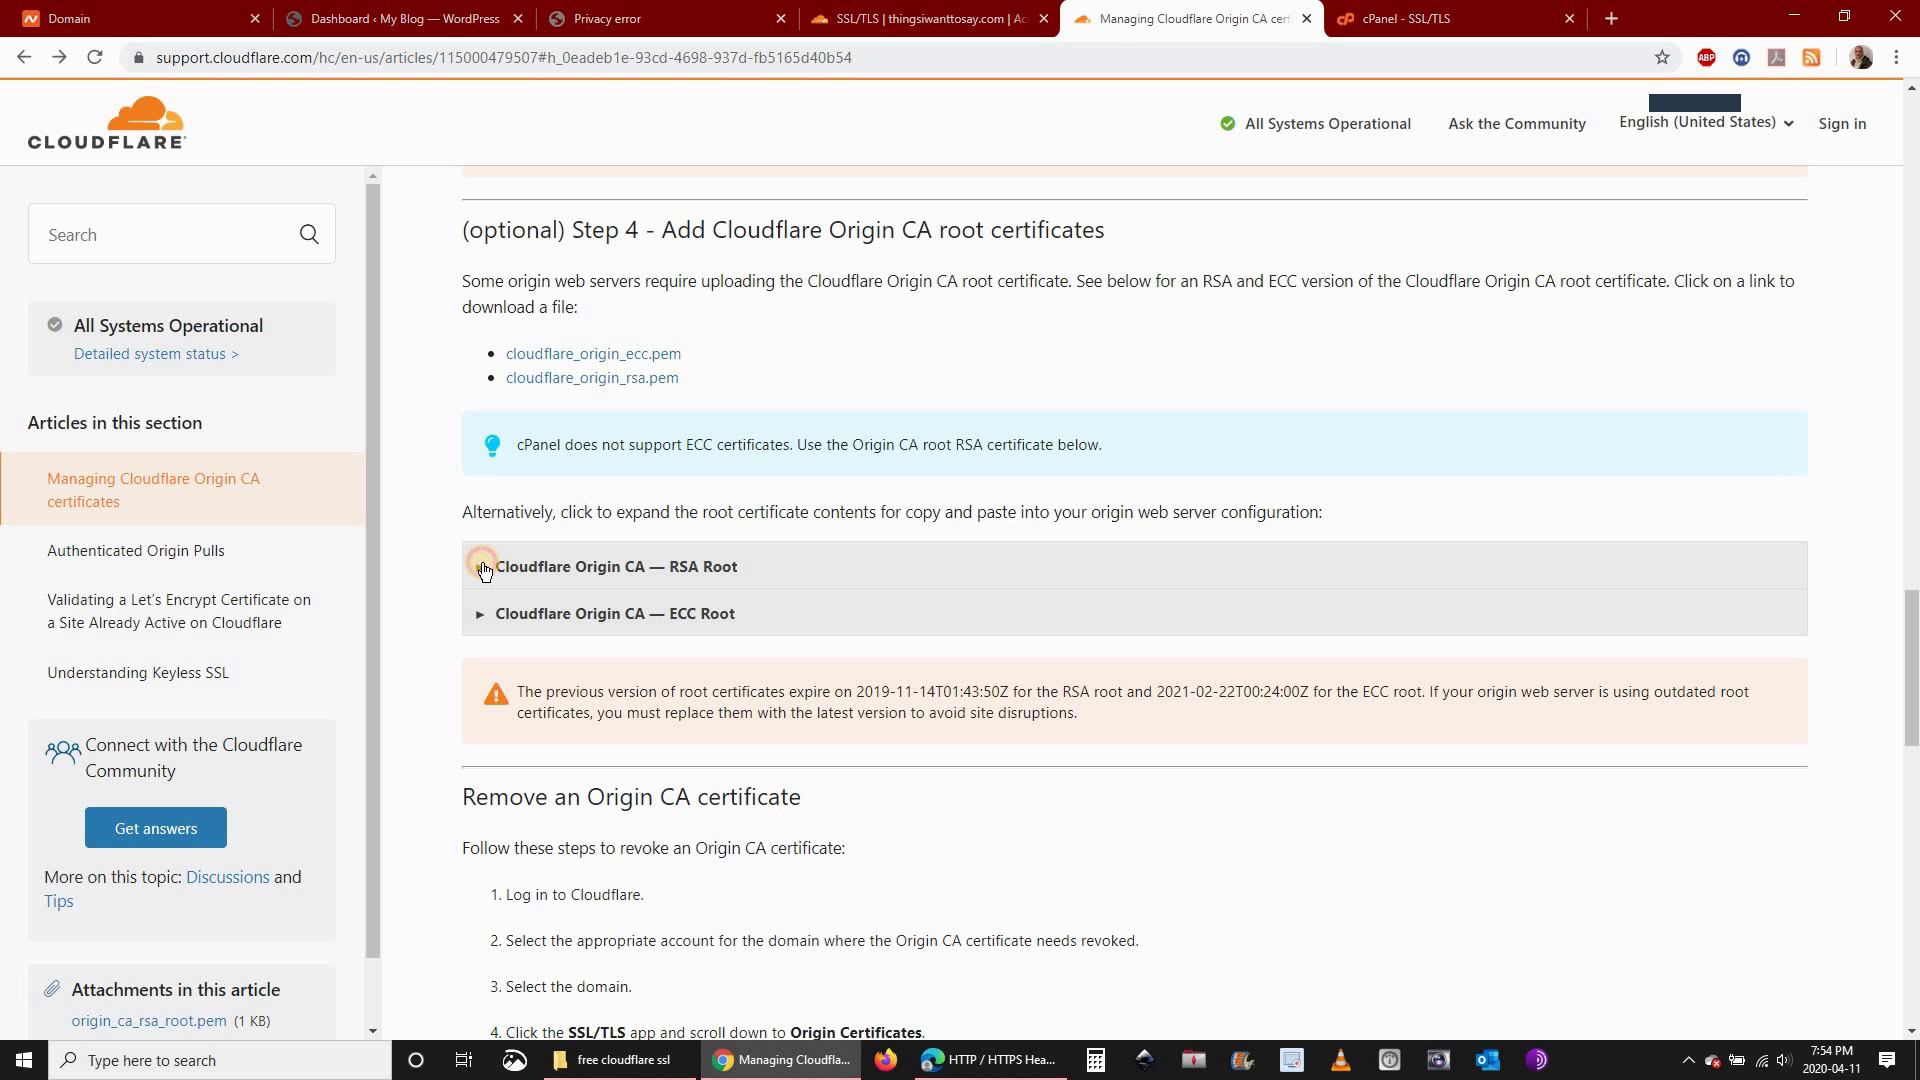
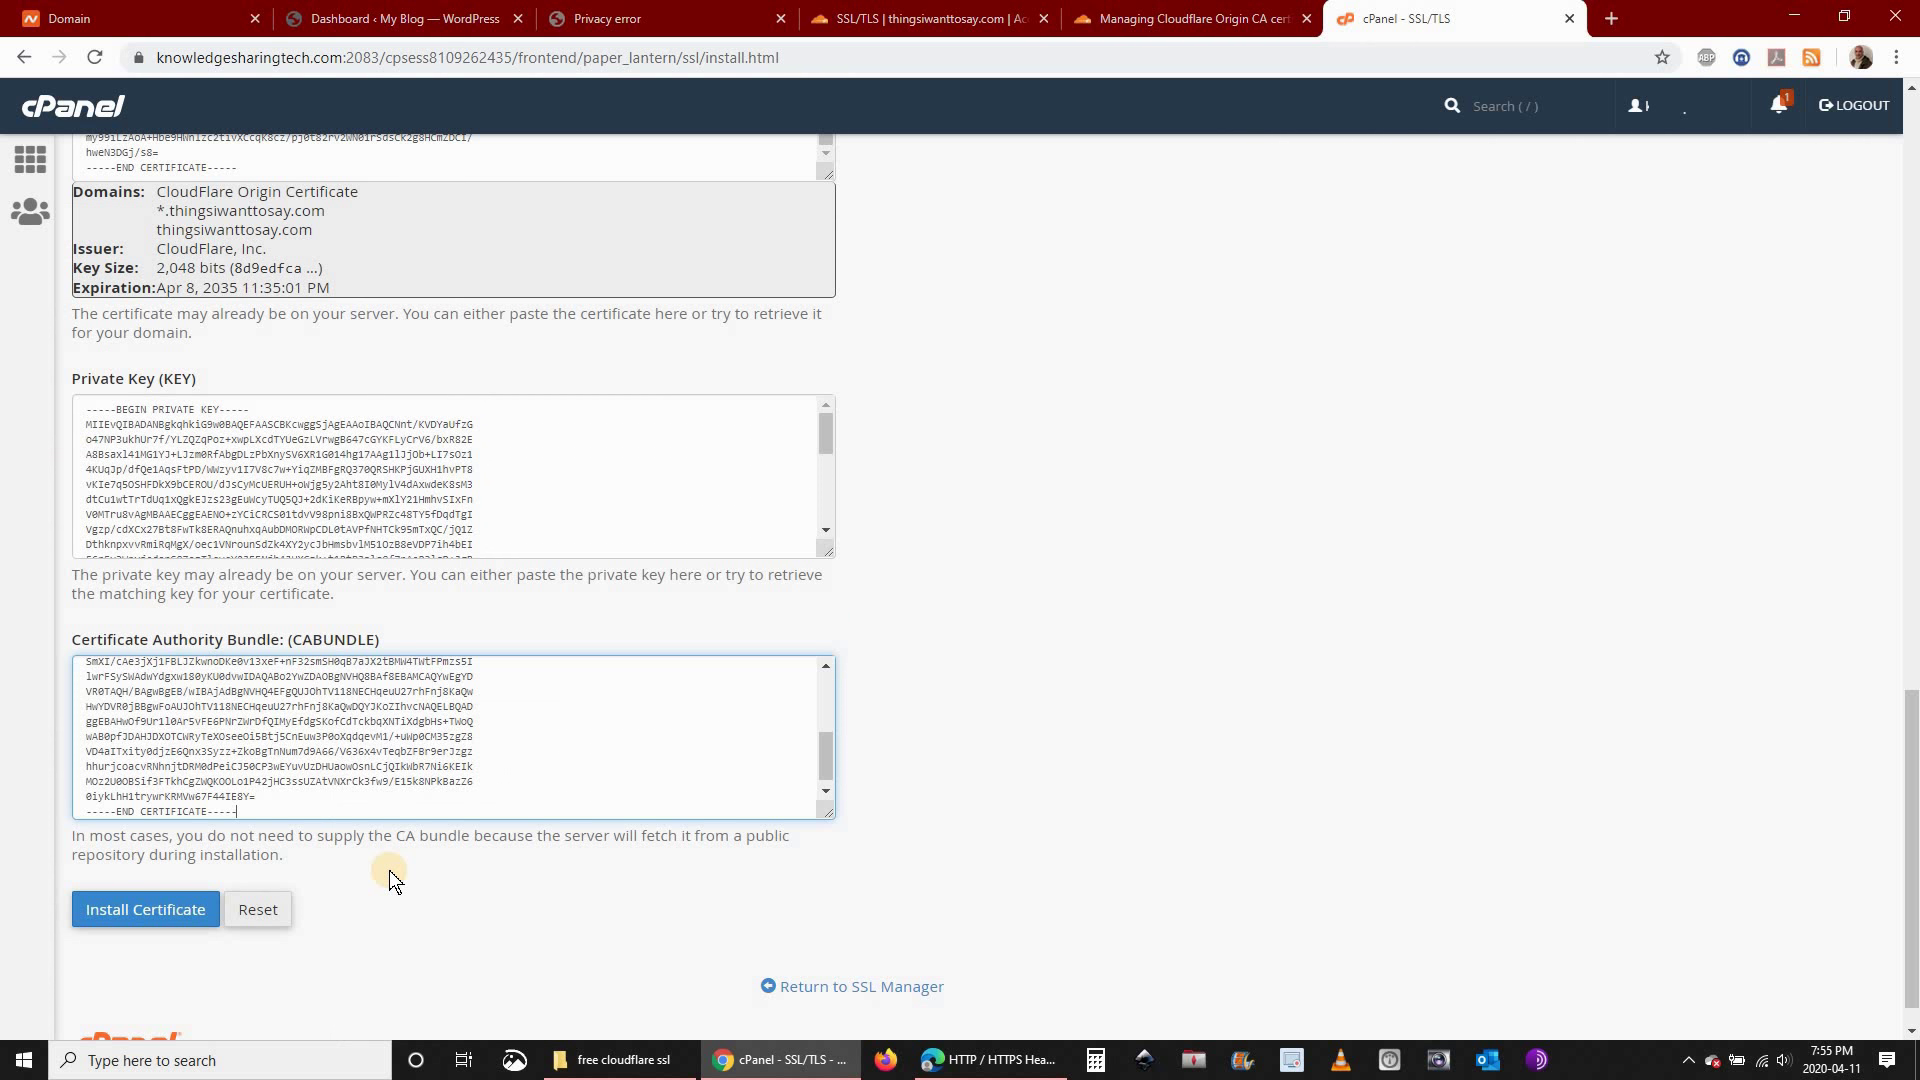
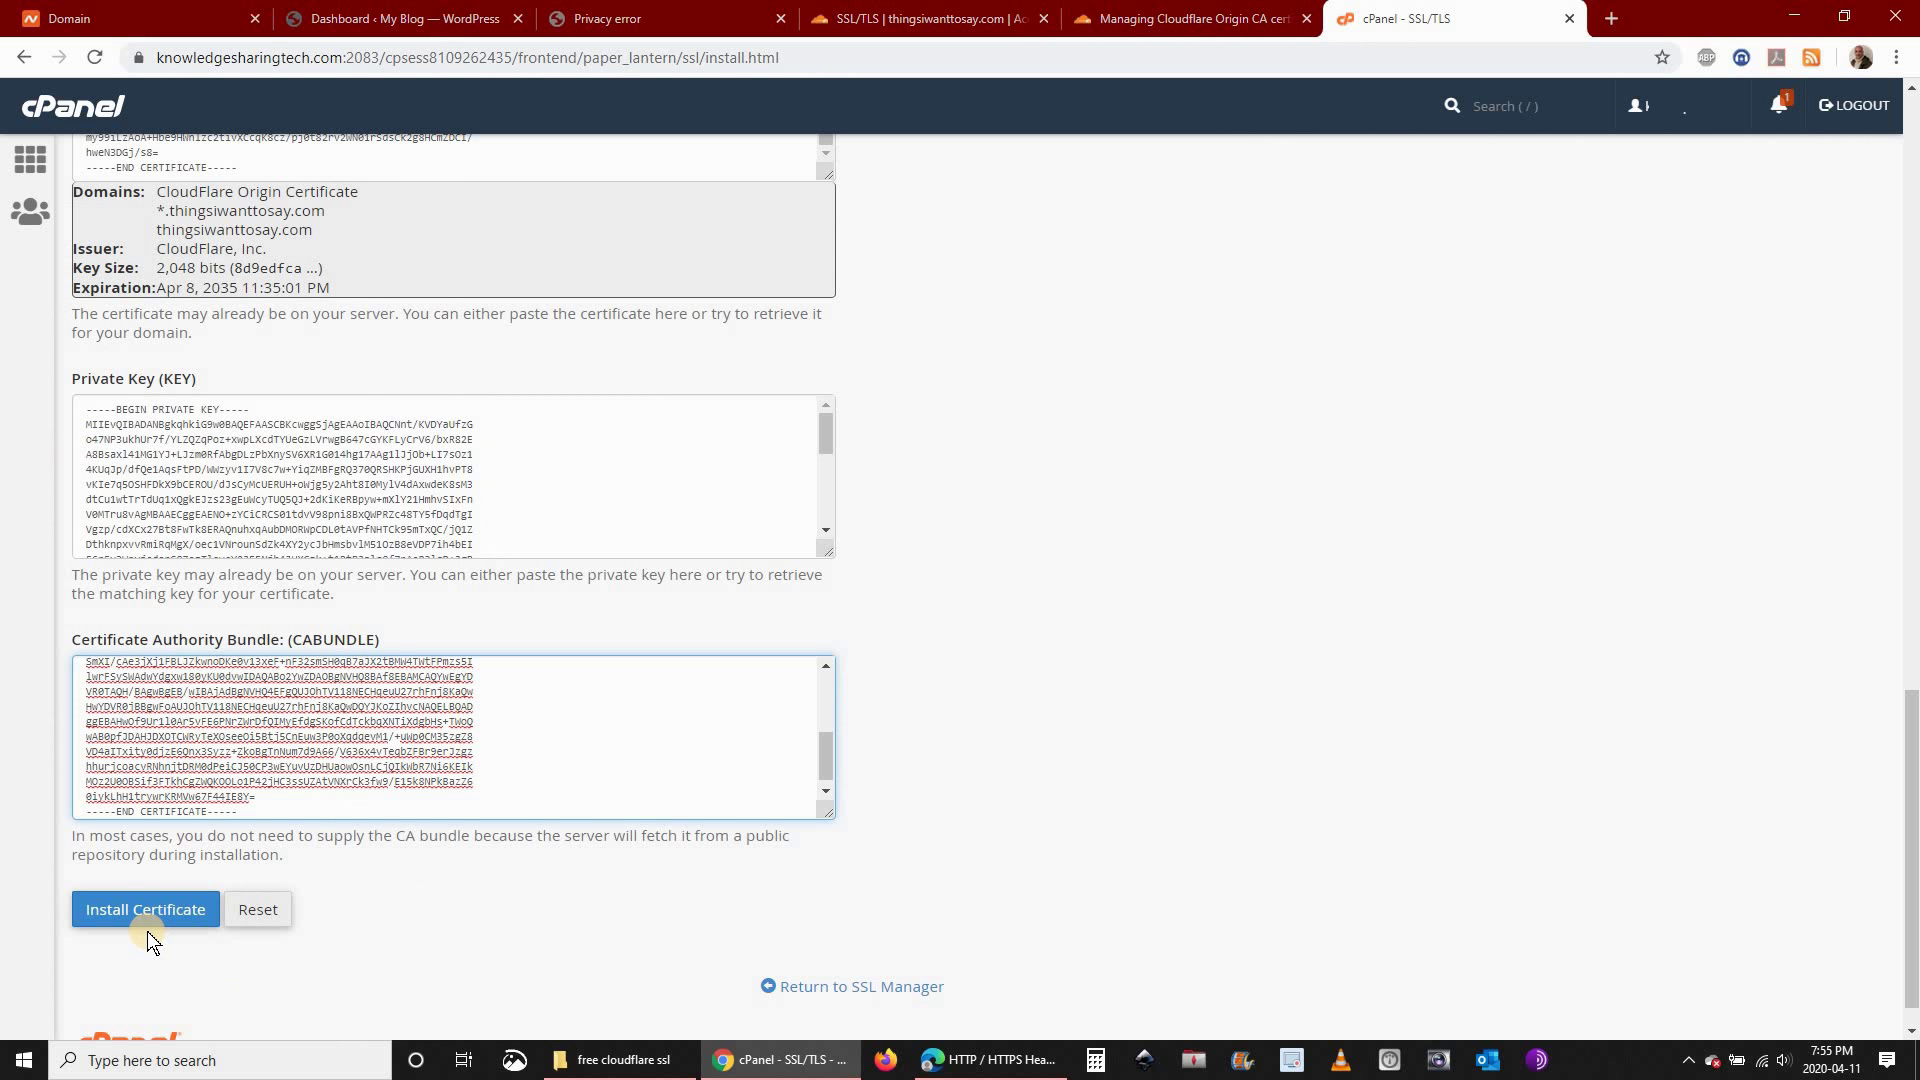
Step 17: Copy the CloudFlare Origin CA – RSA Root certificate and paste it in cPanel under Certificate Authority Bundle (CABUNDLE) and then click Install Certificate
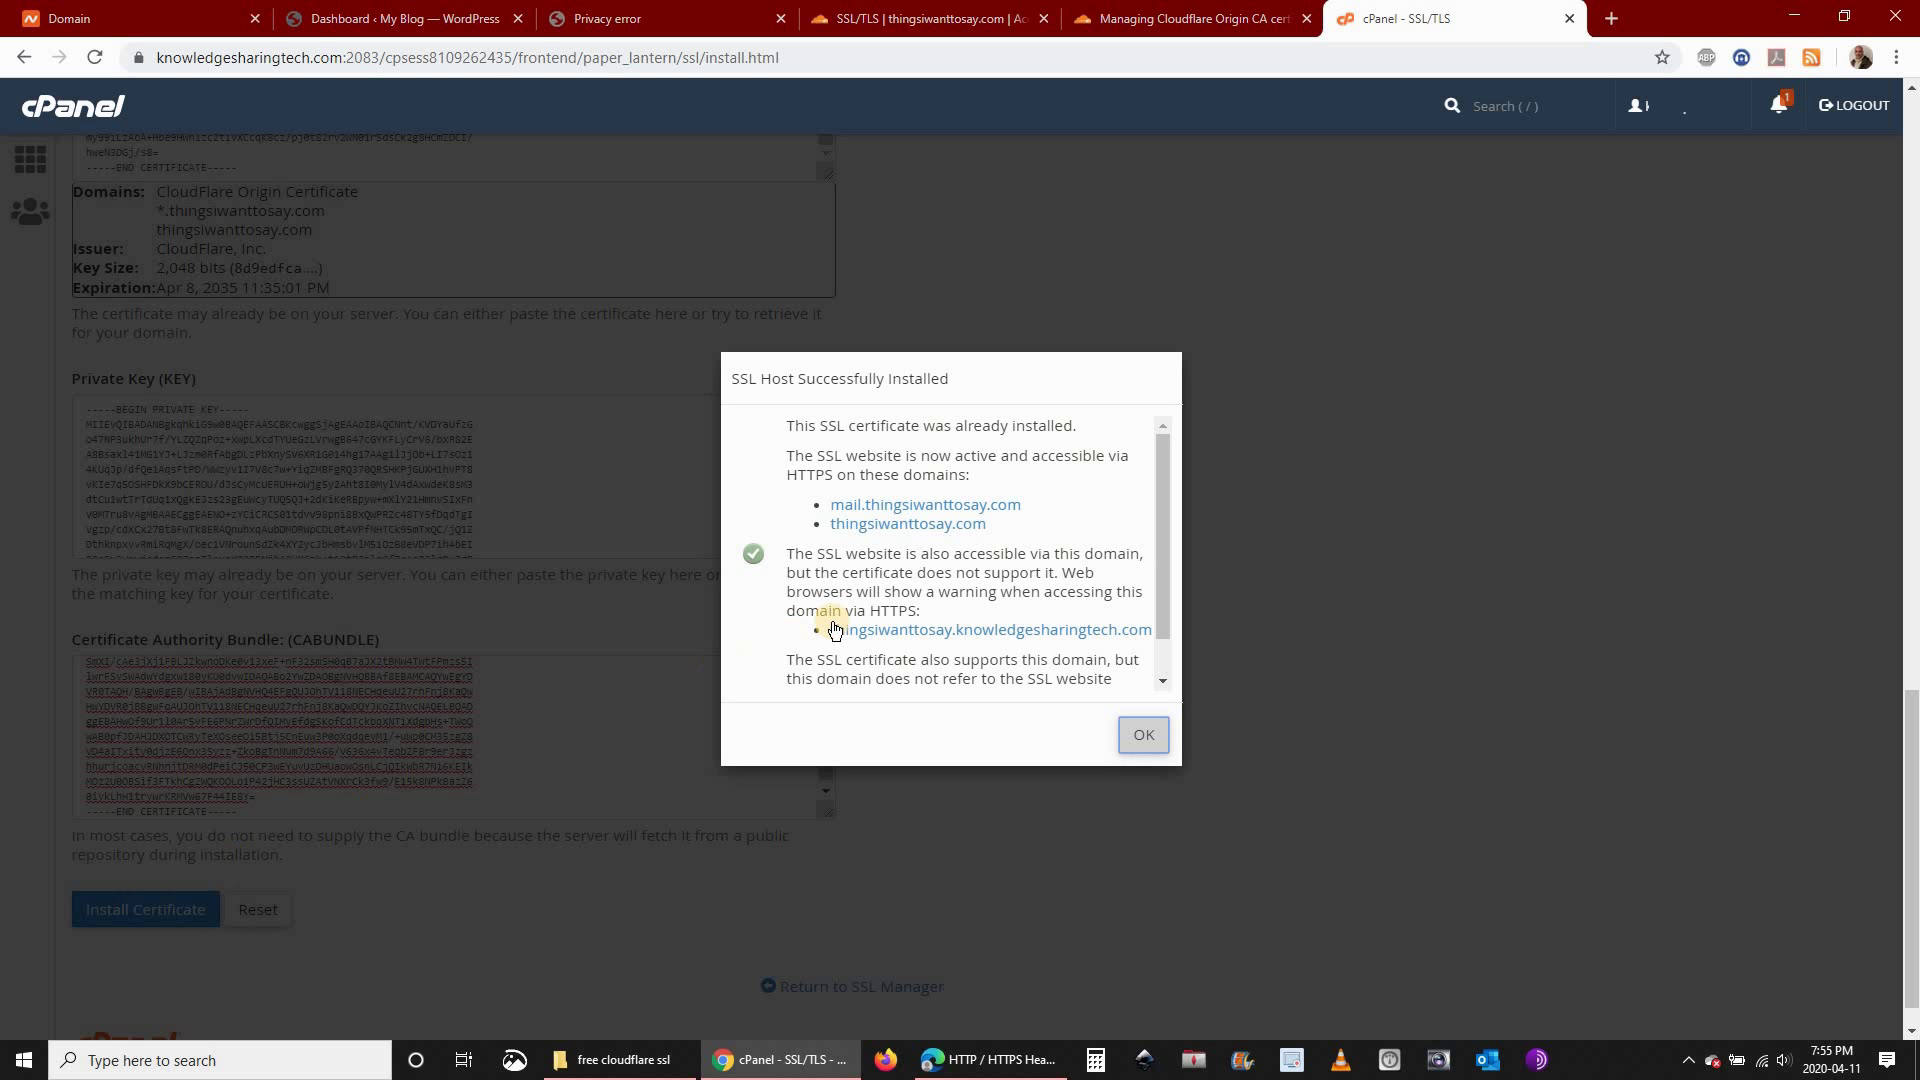
Step 18: You will receive the message SSL Host Successfully Installed and now your Website will show a green padlock with Connection Secure
P.S: Sometimes (but rarely) it takes 48 hours for the green padlock to appear. Just be patient and wait for it.

If you prefer to watch the video, you can find it on this link:


0 Comments